The combination of USB cameras with Raspberry Pi opens up a world of possibilities when it comes to do-it-yourself projects and dabbling with technology. Learn how to connect USB cameras to Raspberry Pi to open up a world of creative possibilities for educators, professionals, and hobbyists alike.
Understanding the potential of combining USB cameras with Raspberry Pi
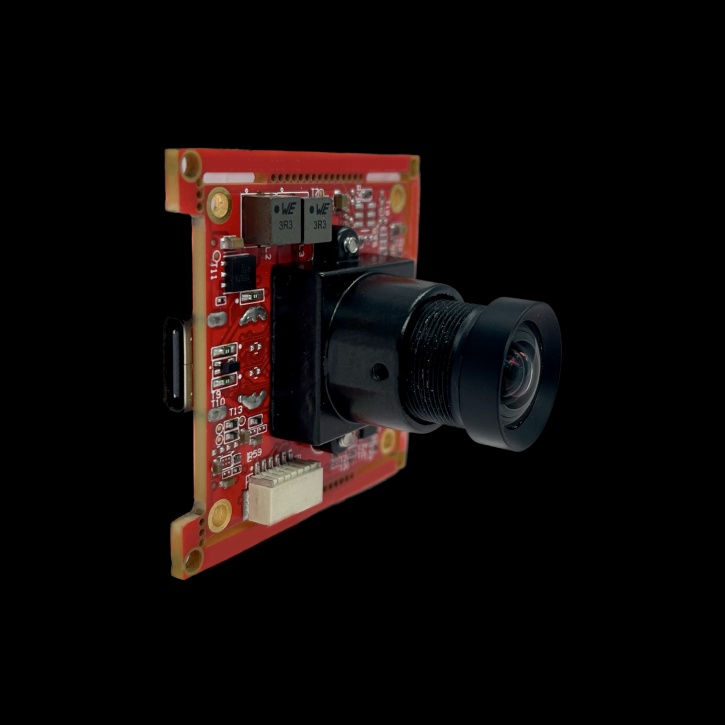
USB cameras, known for their versatility and affordability, can be seamlessly integrated with Raspberry Pi, a popular single-board computer. Together, they offer a powerful platform for various applications, from home automation to industrial monitoring.
Benefits of using USB cameras with Raspberry Pi
Flexibility and versatility
One of the primary advantages of using USB cameras with Raspberry Pi is the flexibility it offers. USB cameras come in various shapes, sizes, and specifications, allowing users to choose the most suitable option for their specific needs. Whether it's capturing high-definition video or streaming live footage, USB cameras can adapt to different scenarios with ease.
Cost-effectiveness
Compared to traditional camera systems, USB cameras are often more affordable, making them an attractive choice for hobbyists and professionals alike. When paired with Raspberry Pi, which offers a low-cost computing platform, the overall investment remains relatively low, making it accessible to a wider audience.
Compatibility considerations
However, before diving into the world of USB cameras and Raspberry Pi, it's essential to consider compatibility issues. Not all USB cameras are compatible with Raspberry Pi out of the box, and some may require additional drivers or software tweaks to function properly. Before making a purchase, it's advisable to research compatibility and ensure that the chosen camera is compatible with Raspberry Pi.
Setting up USB cameras with Raspberry Pi
Once compatibility is confirmed, setting up a USB camera with Raspberry Pi is relatively straightforward. Begin by physically connecting the camera to one of the USB ports on the Raspberry Pi board. Next, ensure that the necessary software packages, such as the camera module, are installed on the Raspberry Pi operating system.
Configuring the Raspberry Pi for USB camera use
After connecting the camera, it's essential to configure the Raspberry Pi to recognize and utilize the USB camera. This may involve modifying configuration files or installing additional software packages, depending on the specific camera model and operating system. Detailed instructions can usually be found in the camera's documentation or online resources.
Testing the USB camera connection
Once configured, it's crucial to test the USB camera connection to ensure that it's functioning correctly. This can be done using software applications that support camera input, such as VLC media player or Raspberry Pi's built-in camera utilities. By capturing test images or video footage, users can verify that the camera is properly detected and producing the desired output.
Optimizing USB camera performance
To maximize the performance of the USB camera with Raspberry Pi, consider implementing optimization techniques. This may include adjusting camera settings, such as resolution and frame rate, to achieve the desired balance between image quality and performance. Additionally, optimizing the Raspberry Pi's hardware and software configuration can help reduce latency and improve overall system responsiveness.
Security considerations
When deploying USB cameras with Raspberry Pi, it's essential to prioritize security to prevent unauthorized access or tampering. This includes securing network connections, using strong passwords, and regularly updating both the Raspberry Pi operating system and any associated software packages. By implementing robust security measures, users can minimize the risk of potential security breaches and protect sensitive data.
Practical applications of USB cameras with Raspberry Pi
The versatility of USB cameras and Raspberry Pi opens up a wide range of practical applications across various industries and fields. From home surveillance and monitoring to environmental sensing and robotics, the possibilities are virtually limitless. Some common applications include:
Home security systems
Wildlife monitoring
Industrial automation
Agricultural monitoring
Traffic surveillance
Troubleshooting common issues
Despite their ease of use, users may encounter occasional issues when using USB cameras with Raspberry Pi. Common problems include driver conflicts, connection issues, and compatibility issues. Fortunately, many of these issues can be resolved through troubleshooting steps such as:
Checking physical connections :
Updating software packages
Rebooting the Raspberry Pi
Seeking assistance from online forums or community support groups
Future developments in USB camera integration with Raspberry Pi
As technology continues to evolve, we can expect to see further advancements in the integration of USB cameras with Raspberry Pi. This may include improvements in compatibility, performance, and feature integration, as well as the development of new applications and use cases. By staying informed and embracing emerging technologies, users can continue to unlock the full potential of USB cameras with Raspberry Pi.
Conclusion
In conclusion, the combination of USB cameras and Raspberry Pi offers a powerful and versatile platform for a wide range of applications. From home automation to industrial monitoring, this dynamic duo enables users to unleash their creativity and innovation. By following best practices for setup, optimization, and security, users can harness the full potential of USB cameras with Raspberry Pi and embark on exciting new projects.

No comments yet