Are you looking for an answer to how to print past reconciliation in QuickBooks? If you want to keep records or wish to review your past reconciliations, you need a previous reconciliation report. These reports provide you with information that can help you in finding any discrepancies and help you in keeping track of your data.
We understand that accessing past reconciliations for printing can be difficult, but you don’t need to worry. This blog post will walk you through the steps to print past reconciliation reports in QuickBooks.
Learn how to print past reconciliations in QuickBooks
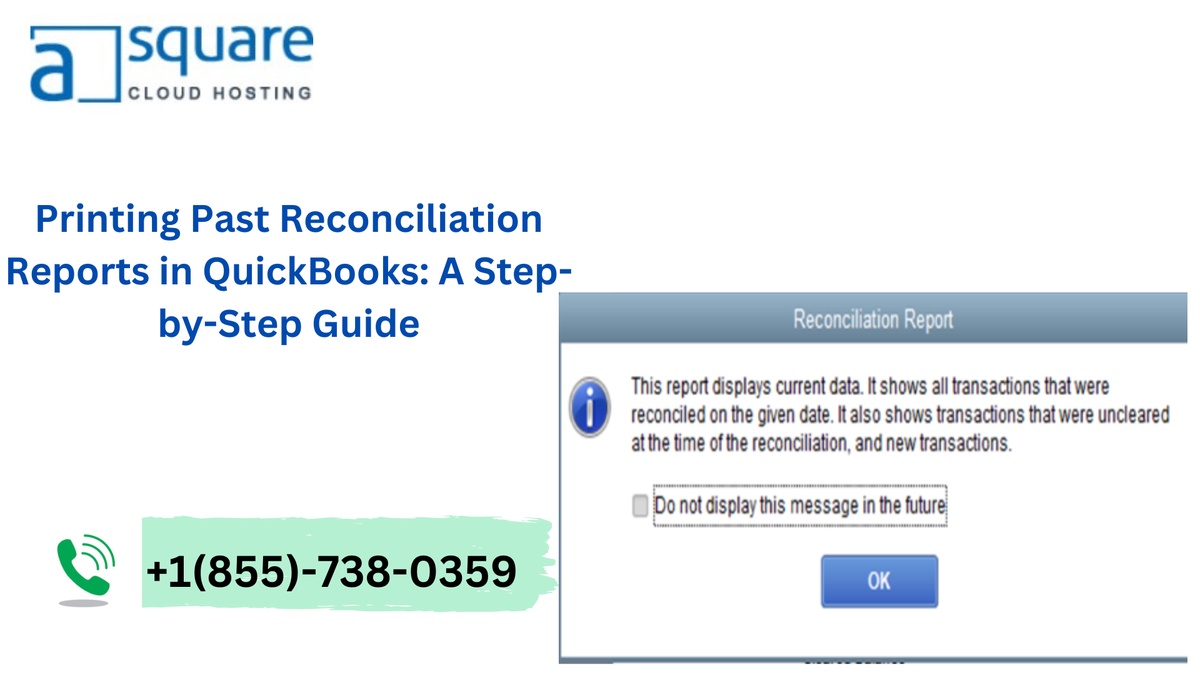
A reconciliation report in QuickBooks lists all the steps that were taken during the reconciliation process so that financial records found within the software match with the bank statement. It allows users to verify their financial records. Printing past reconciliations is essential for checking and maintaining your financial records. These reports include the beginning and ending balances and also lists of cleared and unclear transactions when you reconcile them.
Steps to Print Past Reconciliations in QuickBooks
By following the steps below, you can easily keep track of your previous reconciliations and print them according to your requirements.
Step 1: Get the past reconciliations report
- Open your QuickBooks desktop and navigate to the Reports menu.
- In the Reports menu, hover over ‘Banking’ there and select ‘Previous Reconciliation.’
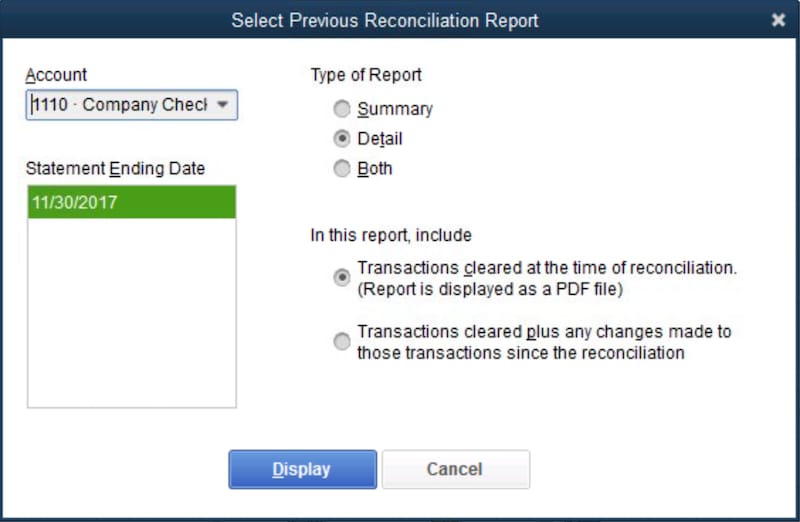
- From the Account drop-down menu, choose the account for which you want to retrieve the reconciliation report.
- In the Statement Ending Date section, choose the reconciliation period you would like to review
- Choose your report type by selecting either ‘Detailed’ or ‘Both.’ If you are using the report to address a reconciliation issue, you should choose ‘Detailed.’
- Now, you need to choose which transactions you want to include in the report.
- “Transactions cleared at the time of reconciliation”: This provides a snapshot of the transactions in the account at the time of the reconciliation.
- “Transactions cleared plus any changes made to those transactions”: This gives you transactions in the account at the time of reconciliation and also gives you info about their current status.
- Now click on ‘Display.’
Recommended To Read : How To Reprint W-2 In QuickBooks Desktop: An Entire Process!

Step 2: Print the Report
- Once you have the report on the screen, you can print it by selecting the Print icon in the upper right of the report.
- You can not only print but also export these reports as PDF or in Excel format.
By following these simple steps, you can learn how to print past reconciliations in QuickBooks, and you can have a record of your previous reconciliations.
If you face any difficulties or need further assistance, feel free to reach out to the QuickBooks support team just dial us at +1(855)-738-0359.
Visit Website : theamberpost

No comments yet