Introduction:
2048 is a highly sought-after puzzle game that has managed to captivate players from all around the globe with its simple yet highly addictive gameplay. If you're interested in learning how to build this exciting game, then you're in the right place. In this article, we'll take you through the step-by-step process of building the 2048 game using React - a well-known JavaScript library that's widely used for creating user interfaces. By following this comprehensive guide, you'll gain a deeper understanding of React while simultaneously creating a fun and challenging game that will keep you entertained for hours on end.
Prerequisites:
Before we begin, make sure you have a basic understanding of JavaScript and React. You'll also need Node.js and npm (Node Package Manager) installed on your computer.
Step 1: Set Up Your Development Environment
Start by creating a new React project using Create React App, a tool that sets up a new React project with a predefined directory structure and build scripts. Open your terminal and run the following commands:

This will create a new React project named "2048-game" and start a development server.
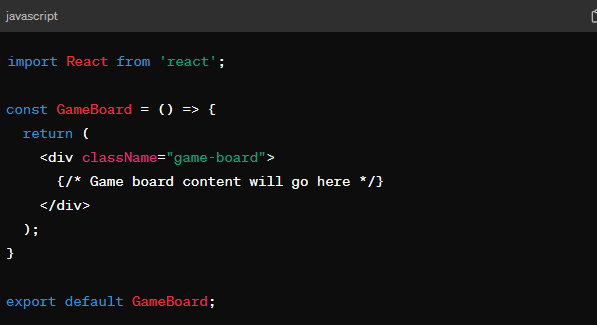
Step 2: Create the Game Board Component
In React, components are the building blocks of a user interface. We'll begin by creating a new component for the game board. Inside the "src" directory, create a new file named "GameBoard.js" and add the following code:
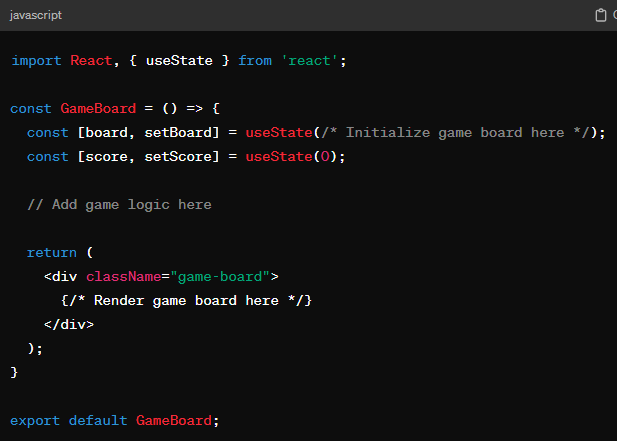
Step 3: Add State for the Game Board
Next, we'll add state to our GameBoard component to represent the game board and the current state of the game. Update the GameBoard component as follows:
Step 4: Implement Game Logic
Now, we'll implement the game logic for moving tiles and combining them. This involves handling user input (keyboard events) and updating the game board accordingly. Add the necessary functions to handle user input and update the game board state.
Step 5: Render the Game Board
Finally, we'll render the game board inside the GameBoard component. This involves mapping over the game board state and rendering each tile. Add the necessary JSX code to render the game board.
Step 6: Styling
To make our game visually appealing, we'll add some CSS styles to the game board component. You can customize the styles to match the original 2048 game or create your own unique design.
Step 7: Testing and Deployment
Once you've completed the game implementation and styling, it's time to test your game and deploy it. You can test the game locally to ensure everything works as expected, and then deploy it to a hosting platform like Netlify or Vercel for others to play.
Conclusion:
In this article, we've walked through the process of creating the 2048 game using React. By following this step-by-step guide, you've learned how to set up a React project, create components, manage state, implement game logic, and style your game. Building games with React is not only a fun way to learn the framework but also a great way to showcase your skills as a developer. Happy coding and have fun playing your newly created 2048 game!

No comments yet