Introduction
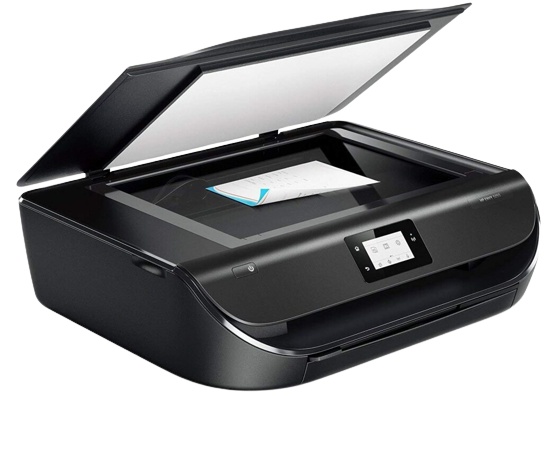
In today’s digital age, the ability to connect devices wirelessly has become a necessity. Printers, once tethered to computers via cumbersome cables, have also embraced this wireless revolution. One of the leading printer manufacturers, HP, has made it exceptionally easy for users to connect their printers to wireless networks. In this comprehensive guide, we will walk you through the steps to Connecting HP Printer to New WiFi, ensuring that you can print seamlessly from any device in your home or office.
Why Go Wireless?
Before delving into the process, it's essential to understand the advantages of connecting your HP printer to a wireless network.
-
Convenience: Wireless printing eliminates the need for physical connections, allowing you to print from any device connected to the same network.
-
Flexibility: With a wireless connection, you can place your printer anywhere within the network range, freeing you from the constraints of a wired setup.
-
Multiple Device Compatibility: Whether you're using a laptop, smartphone, tablet, or desktop computer, wireless printing ensures compatibility with various devices.
-
Reduced Clutter: Say goodbye to tangled wires and messy desk setups. A wireless printer helps maintain a clean and organized workspace.
Preparation Steps
Before you start the process of connecting your HP printer to a wireless network, make sure you have the following:
-
A Wireless Router: Ensure you have an operational wireless router with an active internet connection.
-
Network Credentials: You will need your Wi-Fi network name (SSID) and password to complete the setup.
-
HP Printer: Obviously, you need an HP printer with wireless capabilities. Most modern HP printers support wireless connectivity.
Step-by-Step Guide to Connect Your HP Printer to a Wireless Network
Note: The exact steps might vary slightly based on your printer model and the operating system of your device. The following steps provide a general guideline that should be applicable to most HP printers.
Step 1: Prepare Your Printer
-
Power On: Turn on your HP printer and place it within the range of your wireless router.
-
Check Network Settings: Access your printer's control panel to find the wireless setup or network settings. Refer to your printer’s manual if you are unsure how to access this menu.
Step 2: Connect Printer to Wi-Fi
-
Navigate to Wireless Settings: On your printer’s control panel, navigate to the wireless or network settings. Look for options like “Wireless Setup Wizard” or “Network Setup.”
-
Choose Your Network: Select your Wi-Fi network from the list of available networks. If your network is hidden, you might need to enter the SSID manually.
-
Enter Password: Enter the Wi-Fi password when prompted. Ensure that you enter the correct password, as it is case-sensitive.
-
Confirm Connection: After entering the password, your printer will attempt to connect to the network. Once connected, your printer will display a confirmation message.
Step 3: Install Printer Software
-
Download and Install Drivers: Visit the official HP website (hp.com) and download the latest drivers and software for your specific printer model. Follow the on-screen instructions to install the software.
-
Choose Wireless Connection: During the installation process, you will be prompted to choose the type of connection. Select “Wireless” and follow the prompts to complete the setup.
-
Test the Connection: After the installation is complete, print a test page to ensure that your printer is functioning correctly over the wireless network.
Troubleshooting Tips
If you encounter issues during the setup process, consider the following troubleshooting tips:
-
Check Network Stability: Ensure that your Wi-Fi network is stable and other devices can connect to it without any problems.
-
Verify Credentials: Double-check your Wi-Fi network name (SSID) and password. Typos or incorrect passwords can prevent the printer from connecting to the network.
-
Restart Devices: Sometimes, simply restarting your printer, computer, and router can resolve connectivity issues.
-
Update Firmware: Ensure your printer has the latest firmware installed. Manufacturers often release firmware updates to address bugs and improve performance.
-
Contact Support: If all else fails, don’t hesitate to contact HP customer support for assistance. They can provide specific guidance based on your printer model and network setup.
Conclusion
Connecting your HP printer to a wireless network might seem daunting at first, but with the right guidance and a bit of patience, it's a straightforward process. Once your printer is successfully connected, you'll enjoy the freedom and convenience of wireless printing from any device in your home or office. Remember, if you encounter any difficulties, refer to the printer’s manual or contact HP support for expert assistance. Happy wireless printing!


No comments yet