Overview of Wall Putty
Achieving a flawless paint finish has been simplified with the aid of wall putty. By offering an even and smooth surface to paint on, it establishes a robust base for the paint. Whether you have recently relocated to a new residence or intend to freshen up your existing rooms, wall putty guarantees an extended lifespan for your new paint, preserving its initial-day charm throughout the year.
In technical terms, wall putty refers to a refined powder comprising of white cement that is combined with water and additional additives, resulting in a solution that is subsequently applied to walls. When properly applied, this solution effectively fills in cracks, imperfections, and gaps present on the wall, thus establishing a smooth and even foundation for your paint. The seamless blend of wall putty and water effortlessly conforms to any type of wall surface, be it indoors or outdoors, producing a flawless finish in both the interior and exterior of your house.
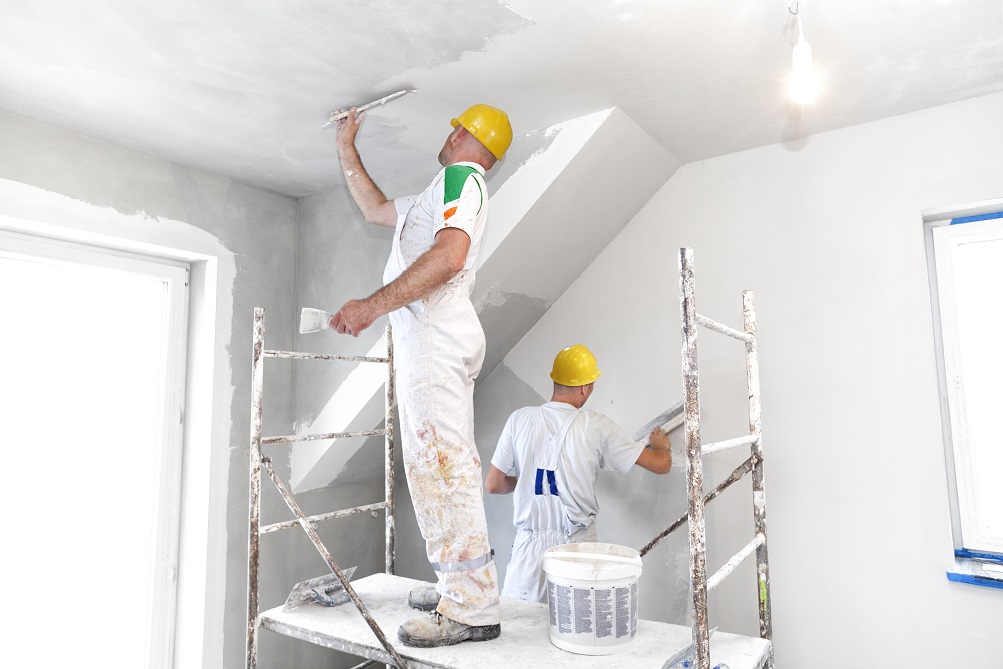
As a common practice, skilled painters typically employ a two-coat technique using Perlcon wall putty prior to painting any surface. The initial coat serves to address imperfections, while the second coat guarantees a seamless alignment between the coated surface and the wall itself. This versatile putty can be conveniently utilized on dry walls as well as plastered and concrete walls. Its adaptability renders it an ideal option for painting various types of walls, making it a preferred choice among professionals.
Types of Wall Putty
The quality of a wall serves as a distinct representation of your societal standing. The impact of a well-executed wall paint can greatly influence the impression you make on your guests. Therefore, it is crucial to familiarize yourself with the available options in the market before making an investment. Take a thoughtful assessment of your room and select one of the finest types of wall putty that aligns with your specific needs and preferences. By doing so, you can ensure an enhanced aesthetic appeal and leave a lasting impression on those who visit your space.
There are several types of wall putty available in the market, each designed to cater to specific requirements and surfaces. Here are some common types:
- Cement-based Wall Putty: This is a traditional type of wall putty that is composed of cement, fillers, and additives. It provides good adhesion, durability, and is suitable for both interior and exterior walls.
- Acrylic-based Wall Putty: Acrylic-based putty contains acrylic polymers and is known for its excellent water resistance and flexibility. It offers good coverage, adhesion, and is suitable for interior applications.
- Gypsum-based Wall Putty: Gypsum-based putty is made from gypsum powder and is primarily used for interior walls. It has good filling properties and is ideal for leveling surfaces and repairing minor cracks.
- Ready-Mix Wall Putty: Ready-mix putty is a pre-mixed formulation that requires only the addition of water. It saves time and effort, and is available in various formulations such as cement-based or acrylic-based.
- Polymer-based Wall Putty: Polymer-based putty contains polymers that enhance its adhesive properties and flexibility. It provides a smooth finish and is suitable for both interior and exterior applications.
- Quick-drying Wall Putty: This type of putty is formulated to dry quickly, reducing the waiting time between coats or before applying paint. It is suitable for projects with tight timelines.
When selecting a wall putty, consider factors such as the surface type, desired finish, drying time, and specific requirements of your project. It's always recommended to follow the manufacturer's instructions for the best results.
How to Use Wall Putty – Steps

Using wall putty is a straightforward process that involves a few essential steps. Here's a guide on how to use wall putty effectively:
- Surface Preparation: Begin by preparing the surface where you intend to apply the wall putty. Ensure that it is clean, dry, and free from dust, grease, loose particles, and any other contaminants. Remove any existing paint or flaking material and repair any visible cracks or damage on the surface.
- Mixing: Depending on the type of wall putty you're using, follow the manufacturer's instructions to mix the putty with water or any other specified liquid. Use a clean container and mix the putty in the recommended proportions until you achieve a smooth, lump-free paste. Allow the mixture to rest for a few minutes before application.
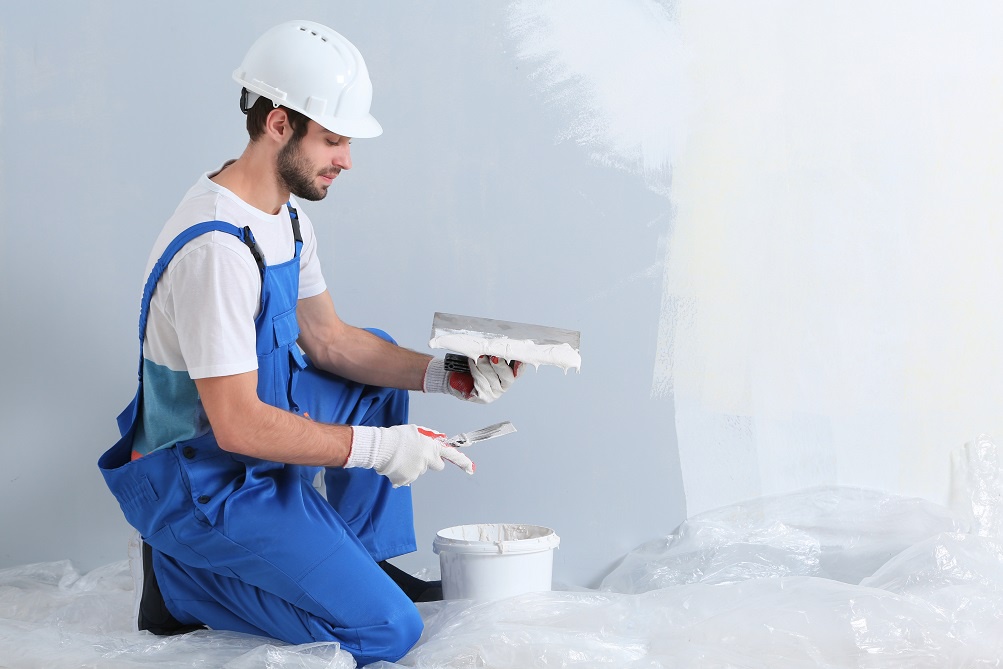
- Application: Using a putty knife or trowel, take a sufficient amount of mixed wall putty and apply it on the prepared surface. Start by filling in the cracks, indentations, and imperfections, ensuring that the putty is spread evenly. Work in small sections to maintain control and avoid drying out.
- Smoothing and Leveling: After applying the putty, use the putty knife or a scraper to smoothen the surface, removing any excess putty and ensuring an even finish. Apply light pressure and work in a consistent direction to achieve a uniform appearance.
- Drying and Sanding: Allow the applied wall putty to dry completely as per the manufacturer's instructions. Once dry, use sandpaper or a sanding block to gently sand the surface, making it smooth and ready for painting. Remove any dust or debris after sanding.
- Cleaning: Clean your tools and equipment with water immediately after use to prevent the putty from hardening and clogging them.
- Painting: Once the wall putty is dried and sanded, you can proceed to paint the surface with your desired paint, primer, or finish as per your project requirements.
Remember to follow the specific instructions provided by the wall Putty Manufacturer in India you're using, as different brands may have slight variations in application and drying times.
Benefits of Using Wall Putty
Using wall putty offers several benefits when preparing surfaces for painting or enhancing the overall appearance of walls. Here are some key benefits of using wall putty:
- Smooth and Even Surface: Wall putty fills in cracks, dents, and imperfections on the surface, creating a smooth and even base for painting. It helps in achieving a flawless finish by providing a uniform surface for the paint to adhere to.
- Improved Adhesion: Wall putty enhances the adhesion of paint to the surface, ensuring that the paint lasts longer and doesn't peel or flake off easily. It creates a strong bond between the wall and the paint, promoting better durability.
- Hides Surface Imperfections: By filling in cracks, holes, and other blemishes, wall putty helps to hide surface imperfections, resulting in a visually appealing finish. It provides a clean and seamless appearance to the walls.
- Easy Application: Wall putty is easy to apply and work with. It comes in a ready-to-use or dry form that can be mixed with water or other liquids, making it convenient for both professionals and DIY enthusiasts.
- Versatile: Wall putty can be used on various surfaces, including concrete, plaster, masonry, and drywall. It is suitable for both interior and exterior applications, providing versatility in its usage.
- Longevity: By creating a strong foundation for the paint, wall putty helps in extending the lifespan of the painted surface. It prevents the paint from deteriorating due to moisture, cracking, or other environmental factors, thus ensuring a longer-lasting finish.
- Cost-effective: Applying wall putty before painting can be cost-effective in the long run. It helps in reducing the amount of paint required, as well as minimizing the need for frequent touch-ups or repainting due to surface issues.
- Easy to Paint Over: Once the wall putty is applied and dried, it becomes an ideal surface for paint application. It provides a smooth and even base that allows for easier and more efficient painting, resulting in a professional-looking finish.
Overall, using wall putty offers numerous advantages in terms of surface preparation, durability, aesthetics, and cost-effectiveness, making it a valuable product for achieving high-quality paint finishes.


No comments yet