
Welcome to the comprehensive guide on PV inverter installation! If you're looking to dive into the world of solar energy and make the most out of your solar panels, understanding how to properly install a PV inverter is key. In this guide, we'll walk you through everything you need to know about PV inverters, from the basics of how they work to the step-by-step process of installing one in your home or business.
Understanding PV Inverters: The Heart of Solar Power Systems
PV inverters, also known as solar inverters, play a crucial role in any solar power system. They are the devices responsible for converting the direct current (DC) electricity generated by solar panels into alternating current (AC) electricity that can be used to power appliances and electronics in your home or business. Without a properly functioning inverter, your solar panels would not be able to provide usable electricity.
Types of PV Inverters
Before we delve into the installation process, let's take a moment to explore the different types of PV inverters available:
- String Inverters: These are the most common type of PV inverters and are suitable for small to medium-sized solar power systems. They are cost-effective and relatively simple to install.
- Microinverters: Unlike string inverters, microinverters are installed on each individual solar panel. This allows for greater efficiency, especially in systems where panels may be partially shaded at different times of the day.
- Central Inverters: Typically used in large-scale solar power systems, central inverters are designed to handle high power capacities. They are more complex and require professional installation.
Benefits of a PV Inverter
- Energy Efficiency: By converting DC electricity to AC electricity, PV inverters ensure that you can make the most out of the solar energy your panels generate.
- Grid Connectivity: With an inverter, you can connect your solar power system to the grid, allowing you to sell excess electricity back to your utility company through net metering programs.
- Remote Monitoring: Many modern PV inverters come with monitoring capabilities, allowing you to track the performance of your solar power system from anywhere.
Now that we have a basic understanding of PV inverters, let's move on to the exciting part: the installation process!
Step-by-Step Guide to PV Inverter Installation
Step 1: Gather Your Tools and Equipment
Before you begin the installation process, make sure you have the following tools and equipment on hand:
- PV Inverter (make sure it's the correct type and size for your solar power system)
- Screwdrivers
- Wrenches
- Wire cutters
- Wire strippers
- Circuit tester
- Mounting hardware
- Safety equipment (gloves, safety glasses, etc.)
Step 2: Choose the Right Location
The location of your PV inverter is crucial for its performance and longevity. Here are some tips for selecting the optimal location:
- Ventilation: Ensure that the inverter has proper ventilation to prevent overheating. Install it in a well-ventilated area with sufficient space around it.
- Protection: The inverter should be protected from direct sunlight, rain, and other elements. Consider installing it indoors or in a weatherproof enclosure.
- Accessibility: Choose a location that is easily accessible for maintenance and monitoring purposes.
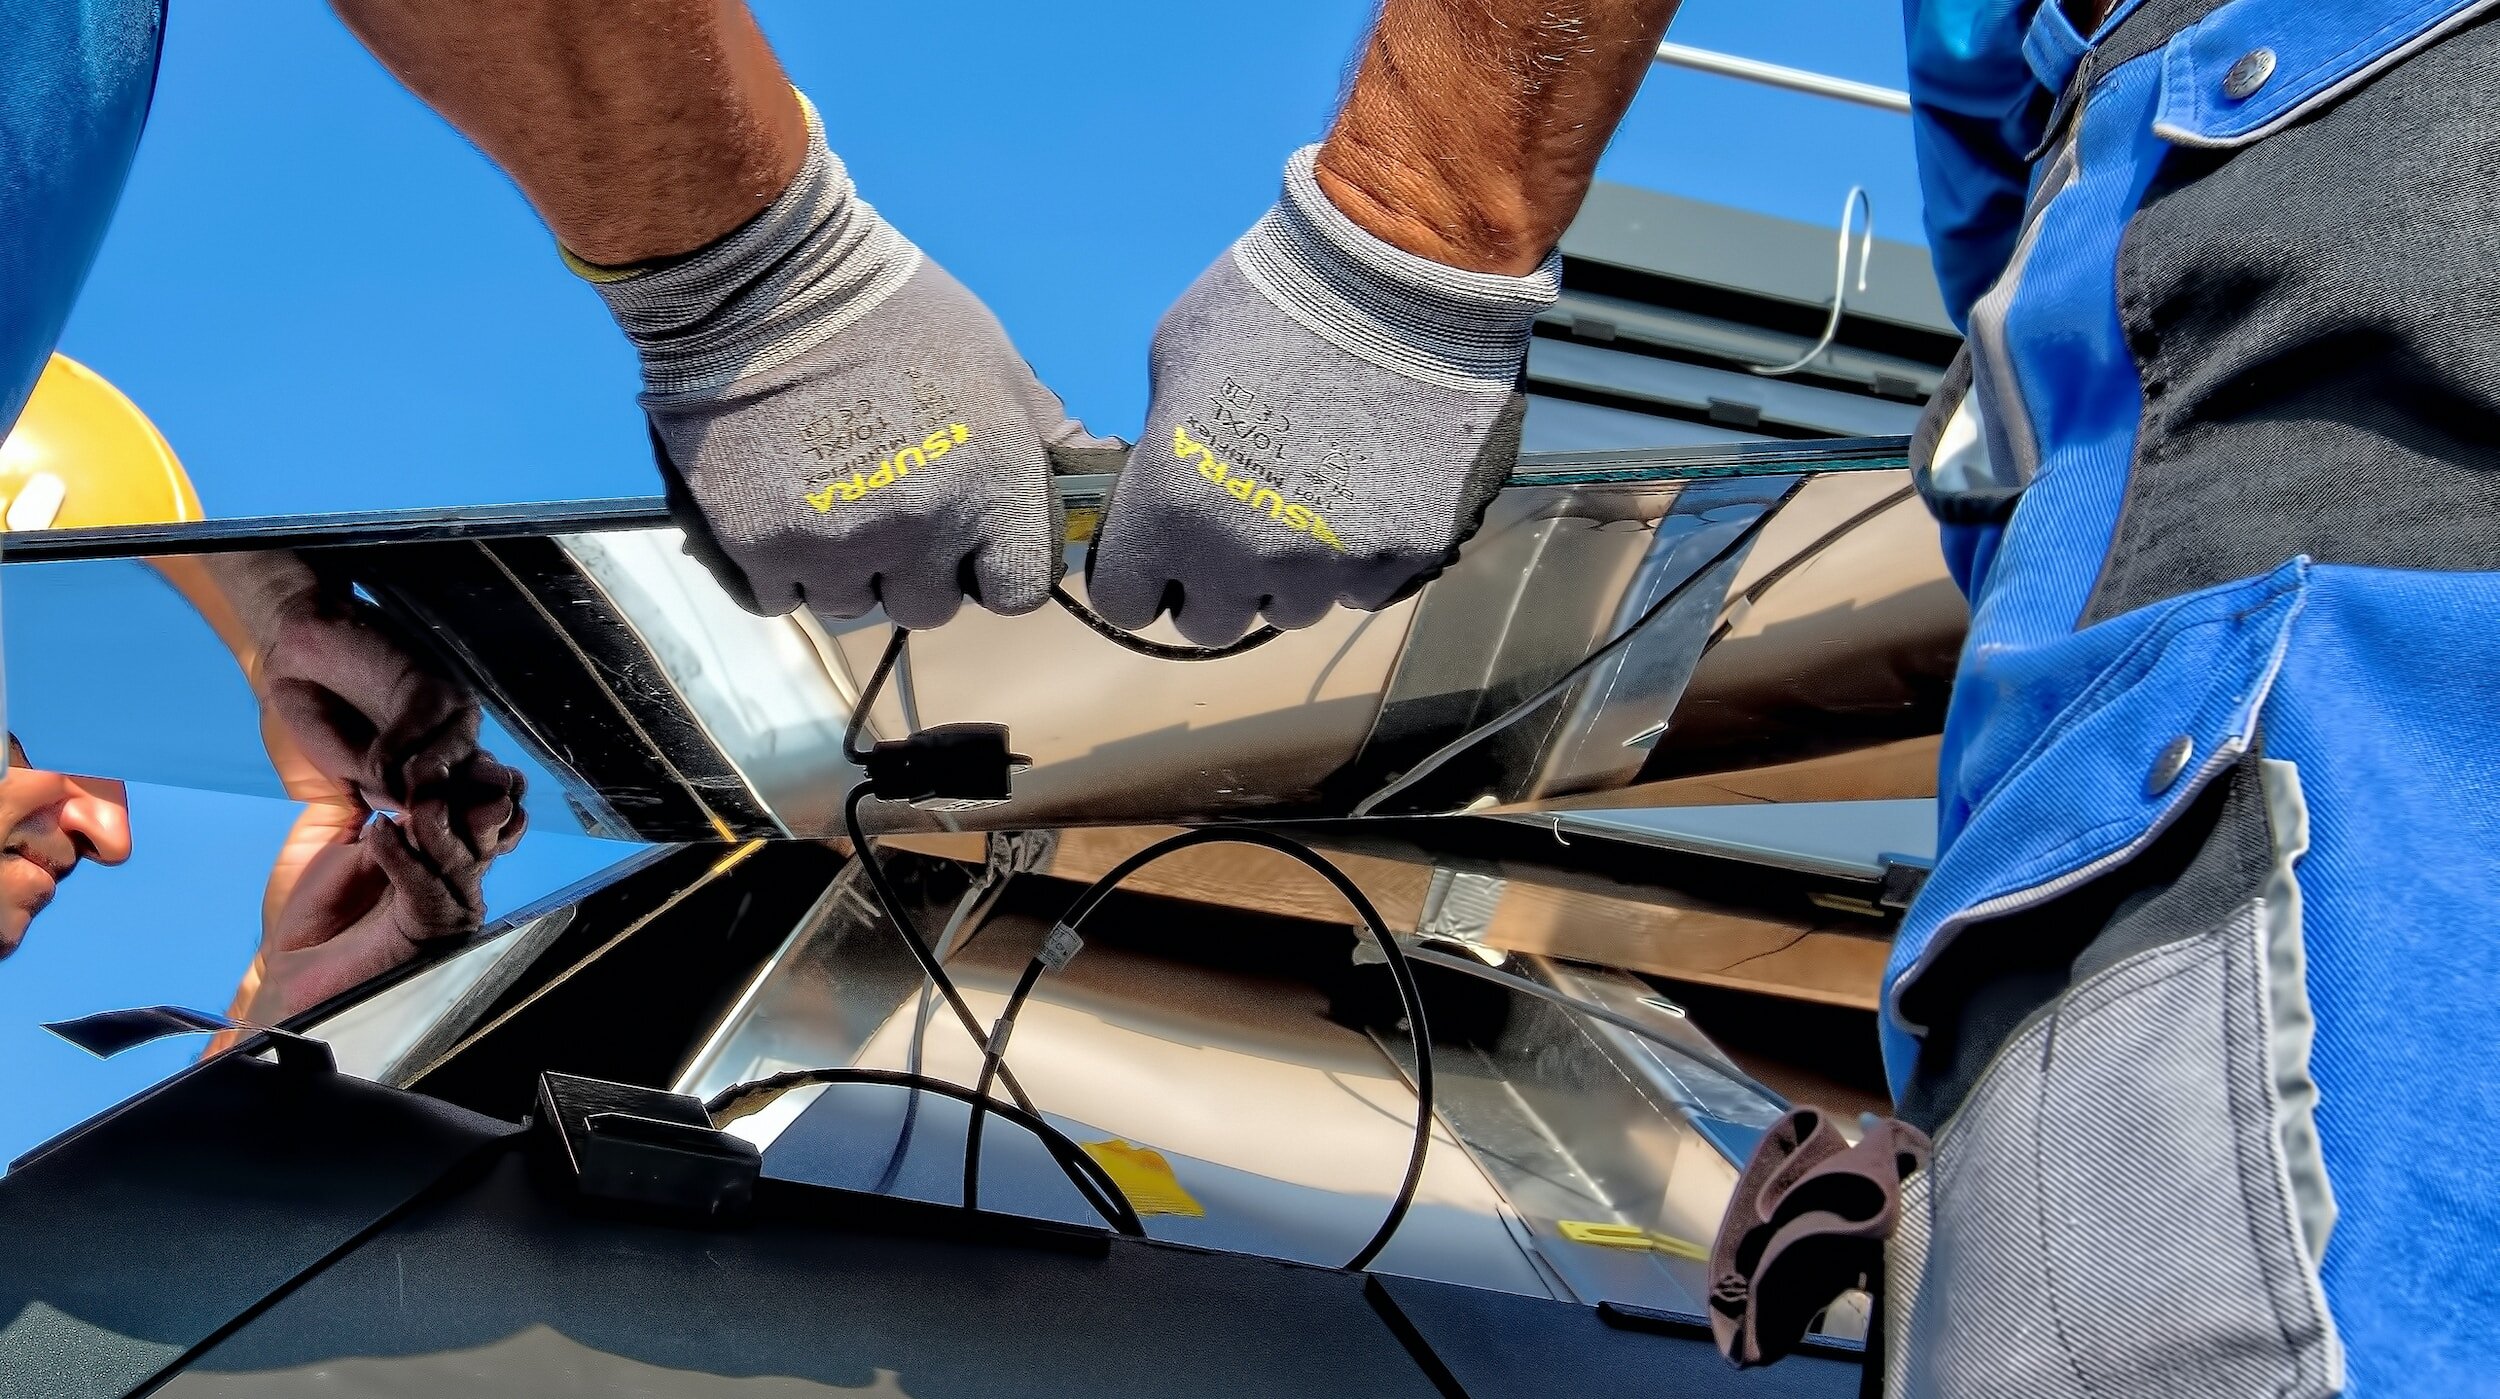
Step 3: Mounting the Inverter
Once you've chosen the right location, it's time to mount the inverter. Follow these steps:
- Attach Mounting Brackets: Use the provided mounting brackets to secure the inverter to the wall or mounting surface. Make sure it is level and secure.
- Connect DC Input: Connect the DC input wires from your solar panels to the input terminals on the inverter. Follow the manufacturer's instructions for proper wiring.
- Connect AC Output: Next, connect the AC output wires from the inverter to your electrical panel. Again, refer to the manufacturer's instructions for correct wiring.
Step 4: Testing and Commissioning
Before you start generating electricity, it's important to test the system to ensure everything is working correctly:
- Check Connections: Double-check all connections to make sure they are secure and properly tightened.
- Turn On the System: Once you are confident in the connections, turn on the PV inverter and monitor its operation. Ensure that it is producing AC electricity.
- Commissioning: If everything looks good, you can proceed with commissioning the system. This may involve setting up monitoring software, configuring settings, and ensuring the system is connected to the grid (if applicable).
Step 5: Monitoring and Maintenance
Congratulations! Your PV inverter is now installed and ready to harness solar power. Remember to regularly monitor its performance and conduct routine maintenance to ensure optimal efficiency.
Step 6: Connecting to the Grid (If Applicable)
If you're planning to connect your solar power system to the grid, this step is crucial:
- Contact Your Utility Company: Before connecting to the grid, you'll need to contact your utility company. They will provide you with information on the interconnection process and any required permits.
- Install a Grid-Tie Inverter: If you haven't already, install a grid-tie inverter, which allows your solar power system to synchronize with the utility grid. Follow the manufacturer's instructions for installation.
- Grid Connection: With the grid-tie inverter installed, you can now connect your solar power system to the grid. This enables you to sell excess electricity back to the utility company and take advantage of net metering.
Step 7: Ensuring Safety and Compliance
Safety should always be a top priority when installing a PV inverter. Here are some safety tips to keep in mind:
- Disconnect Switch: Install a disconnect switch near the inverter for easy access in case of emergencies or maintenance.
- Grounding: Properly ground the PV inverter according to local electrical codes. This helps prevent electrical shocks and ensures system safety.
- Compliance: Make sure your installation complies with local regulations and building codes. This may require obtaining permits and having the system inspected by authorities.
Benefits of Professional PV Inverter Installation
While some may opt for a DIY approach to PV inverter installation, there are clear benefits to hiring a professional:
- Expertise: Professional installers have the knowledge and experience to ensure your PV inverter is installed correctly the first time.
- Safety: Installing electrical components can be dangerous. Professionals are trained in safety protocols to minimize risks.
- Warranty: Many manufacturers require professional installation to validate the warranty on the PV inverter. This can save you money on potential repairs or replacements.
- Efficiency: Professionals can optimize the placement and wiring of the PV inverter for maximum efficiency and performance.
Common Mistakes to Avoid
When installing a PV inverter, it's important to avoid these common mistakes:
- Incorrect Sizing: Choosing an inverter that is too small or too large for your solar power system can lead to inefficiencies and potential damage.
- Poor Ventilation: Inadequate ventilation around the inverter can cause overheating, reducing its lifespan and efficiency.
- Improper Wiring: Incorrectly wiring the PV inverter can result in electrical hazards, system malfunctions, and voided warranties.
- Neglecting Maintenance: Regular maintenance is essential for the longevity and efficiency of your PV inverter. Neglecting this can lead to costly repairs down the line.
Wrap-up
In conclusion, solar inverter installation is the key to unlocking the full potential of your solar power system. From understanding the different types of PV inverters to following the step-by-step installation process, you now have the knowledge to harness clean, renewable energy for your home or business.
Whether you choose a string inverter, microinverter, or central inverter, the benefits of solar power are undeniable. From reducing your carbon footprint to saving money on electricity bills, solar energy offers a multitude of advantages.
Remember, solar inverter installation Cornwall is not just about installing a device—it's about investing in a sustainable future. By taking the time to properly install and maintain your PV inverter, you're contributing to a greener planet for generations to come.
So, what are you waiting for? Take the leap into solar energy with confidence, knowing that you have the tools and knowledge to make a positive impact. And if you ever need to upgrade or replace your solar inverter, consider solar inverter replacement for continued energy efficiency.
Thank you for joining us on this journey towards a cleaner, brighter future. If you have any more questions or need further assistance, don't hesitate to reach out. Solar power is within your reach, and solar inverter installation is the first step towards a more sustainable lifestyle.
Let's power up with solar energy and make a difference together!
Ready to upgrade or replace your solar inverter? Contact us for expert solar inverter replacement services and keep your solar power system running efficiently for years to come!
Frequently Asked Questions (FAQs) About PV Inverter Installation
Q1: Can I install a PV inverter myself, or do I need a professional?
A: While some DIY enthusiasts may be able to install a PV inverter, it's generally recommended to hire a professional installer. This ensures safety, compliance with local regulations, and proper system performance.
Q2: How long does it take to install a PV inverter?
A: The installation process can vary depending on the complexity of your solar power system and the type of inverter. On average, it may take a professional installer a day or two to complete the installation.
Q3: What should I do if my PV inverter is not working?
A: If you suspect your PV inverter is not working correctly, first check the connections and consult the manufacturer's troubleshooting guide. If the issue persists, it's best to contact a professional for assistance.

No comments yet