Maple veneer, in contrast to solid maple hardwood, is a thin slice of maple (typically either flat cut, quartered, or highly figured or maple burl) that is applied to a backer, which is usually either paper or phenolic (though other backers are available).
This makes it more affordable, and in most instances, more easily workable than solid hardwood. As you may know, maple, which has a dense, tight grain that is occasionally interlocked, can be quite difficult to work with hand tools.
Also, as a result of its very light, nearly white color and high density, it tends to burn when worked with high speed tools, such as routers or rotary tools.
These are all things you will not need to worry about if you choose to work with maple veneer as opposed to solid wood, but this species retains one potential vice you still need to be aware of: the difficulty of staining it.
Why Maple Veneer Can Be Difficult to Stain
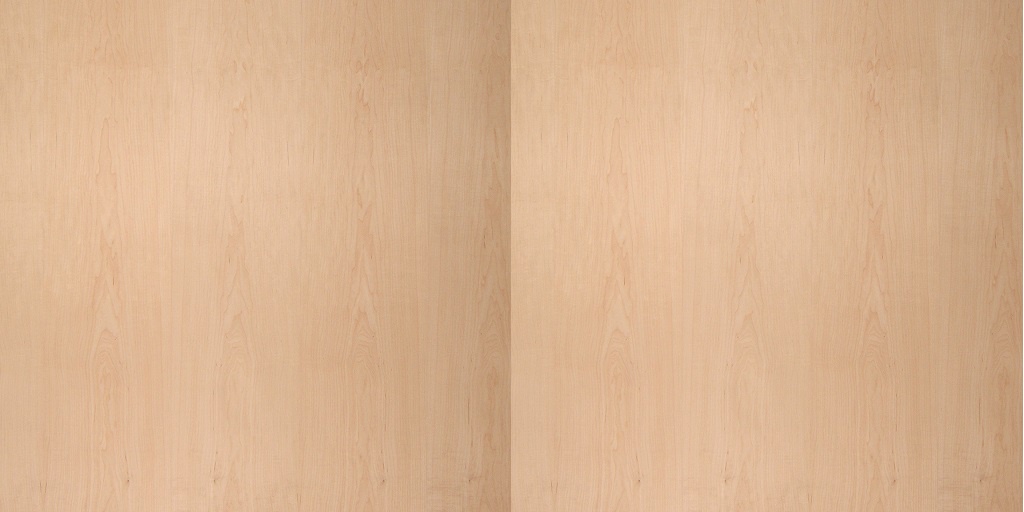
Maple is a dense hardwood with a tight grain pattern and variable porosity. As a result, when you apply stain to the surface of maple, it often appears blotchy. That is, lighter, less dense areas of the wood with more open grain will appear darker, and denser, closed off sections with tight grain will appear lighter, as they did not absorb the stain as readily.
No matter how you handle or prepare maple, it’s always possible that you end up with a blotchy finish, but there are some things you can do to help improve the result.
Advice for a Beautifully Stained Finish
The most important item to be aware of when you intend to stain maple veneer is sanding. This needs to be done carefully and meticulously, and it is critical that all areas of the surface have an even “tooth” before proceeding. Irregularities in the surface of the veneer may influence stain penetration, resulting in the aforesaid blotchy finish.
You shouldn’t need to overdo it, and don’t go past 220 grit, to make sure you don’t sand through to the backer, which will ruin the veneer. Also, after you’re finished, vacuum the surface (rather than wiping, which will pull up some fibers and loose ends) to remove sawdust.
The next step is also vital - use a pre-stain conditioner. Ideally, you will want to use one of the same brand as the stain you are using to ensure chemical or solvent compatibility. The purpose of the pre-stain conditioner is to even out the grain’s tendency to absorb or reject moisture (the stain) so that it evenly absorbs the stain, producing a clean, consistent result.
An Alternative to Stain
If you’re finished applying and sanding the veneer and love the beauty of the wood, it’s alright if you’re a little leery about staining. If you stain and don’t like the result, you can’t reverse it with veneer because you would probably have to sand through to get to fresh wood. In this rare instance, this makes hardwood more versatile than veneer.
Rather, you might want to consider using a clear topcoat to highlight the luster and beauty of maple, which is one of the most attractive of all our domestics. Often graced with a brilliant, chatoyant flame pattern (called curly or tiger maple), this is one species that doesn’t often need help from stain to look its best.
Consider as an alternative to stain applying a topcoat like a lacquer or an amber shellac, which will throw the brilliance of the grain into sharp relief.
Where to Get Maple Veneer
Interested in maple veneer for your next project instead of solid maple? Get it online at Oakwood Veneer and check out their resources, wherein you will find more helpful, actionable advice like this.
For more information about Birch Veneer and Burl Veneer Please visit: Oakwood Veneer Company.

No comments yet