Splinters are a common nuisance that can quickly turn a pleasant day into an uncomfortable one. Whether acquired during a nature walk, while working with wood, or simply by handling certain materials, knowing how to remove a splinter efficiently and with minimal pain is a valuable skill. In this guide, how to get splinter out? we'll explore various methods to make the extraction process as painless as possible.
Understanding the Splinter:
Before attempting to remove a splinter, it's essential to understand its depth and size. Superficial splinters that haven't penetrated deep into the skin are usually easier to extract, while larger or deeper splinters may require more care.
- Wash Your Hands and the Affected Area:
Start by thoroughly washing your hands to minimize the risk of infection. Then, clean the area around the splinter with soap and warm water.
- Sterilize Your Tools:
To prevent infection, it's crucial to sterilize the tools you'll be using. Tweezers, needles, or sterilized splinter removal kits are common tools for this task. To sterilize, you can use rubbing alcohol or boil the tools in hot water.
- Inspect the Splinter:
Examine the splinter closely to determine its size, angle, and depth. If the splinter is protruding, you might be able to grasp it with tweezers. For embedded splinters, a needle might be necessary.
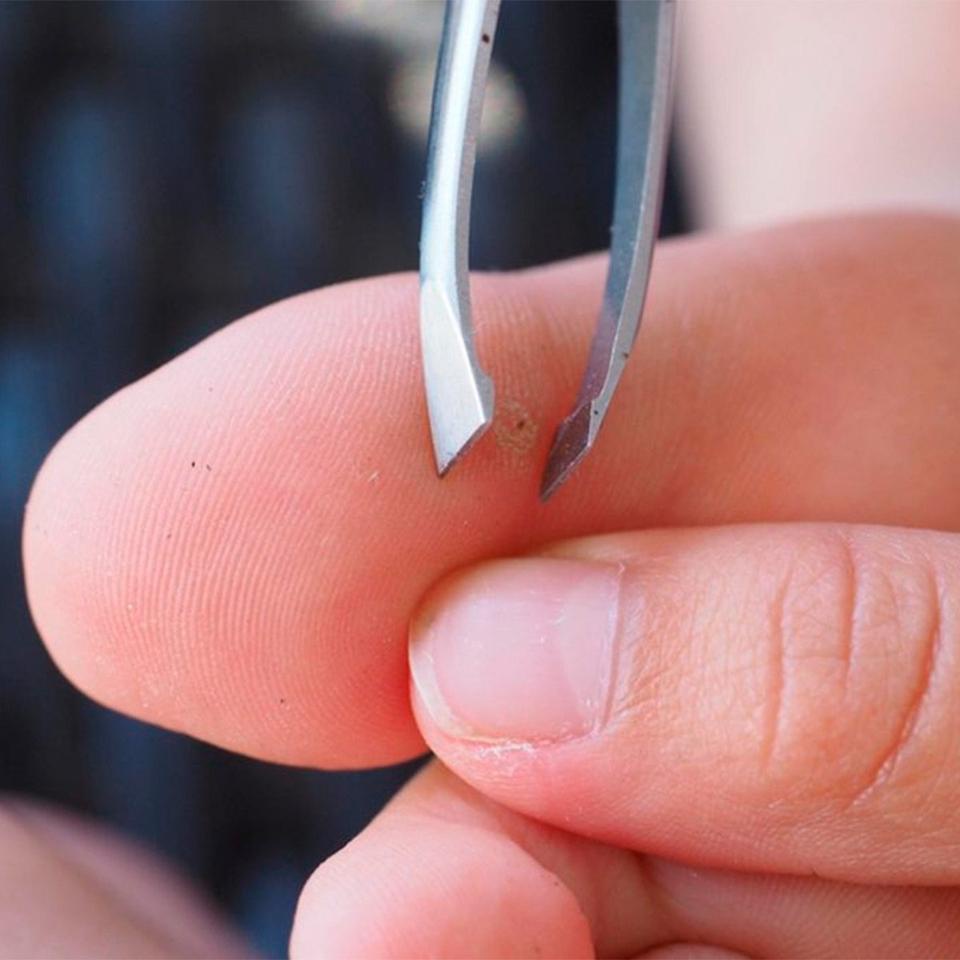
- Tweezer Technique:
For visible splinters, use clean, sterilized tweezers to grasp the splinter close to the entry point. Gently pull the splinter out at the same angle it entered. Ensure you grip the splinter as close to the skin's surface as possible.
- Needle Extraction:
For embedded or deeply lodged splinters, use a sterilized needle. Gently lift the splinter's end using the tip of the needle. Once the splinter is partially exposed, use the tweezers to pull it out.
- Tape Method:
If the splinter is tiny and barely protruding, you can use the tape method. Apply a piece of adhesive tape over the splinter and gently lift it away. The tape should catch the splinter as it is lifted.
- Baking Soda Paste:
Create a thick paste by mixing baking soda with water. Apply the paste to the splinter and cover it with a bandage. After a few hours, the splinter may work its way to the surface, making extraction easier.
- Epsom Salt Soak:
Soaking the affected area in warm water mixed with Epsom salt can help soften the skin and make splinter extraction less painful. This method is particularly useful for splinters deeply embedded in the skin.
- Seek Medical Attention:
If the splinter is deeply embedded, or if you are unable to remove it without causing further pain or damage, it's advisable to seek medical attention. Healthcare professionals have the tools and expertise to address more complex situations.
- Aftercare:
After successfully removing the splinter, clean the wound again and apply an antiseptic ointment. Cover the area with a sterile bandage to prevent infection.
By following these steps, you can navigate the process of splinter removal with minimal discomfort. Remember, it's crucial to prioritize cleanliness and take your time to avoid unnecessary pain or complications. If you have concerns or encounter difficulties, don't hesitate to consult with a healthcare professional for further guidance.

No comments yet