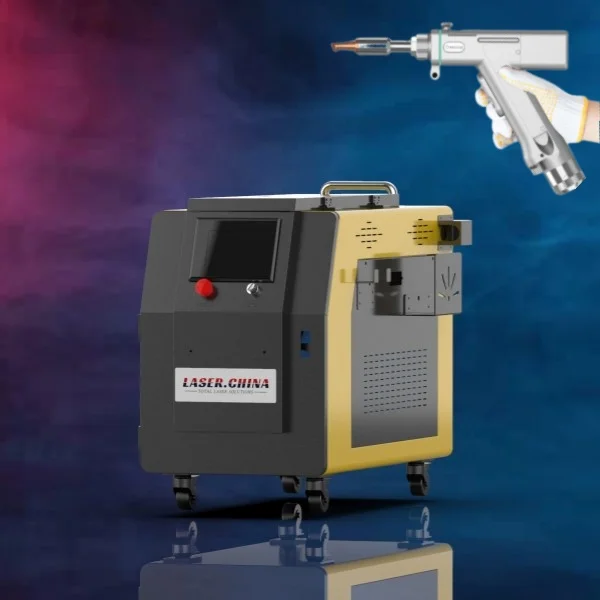
Handheld fiber laser welding machines have revolutionized the welding industry, offering portability, precision, and efficiency like never before. Whether you're a seasoned professional or a novice welder, mastering the use of these cutting-edge tools can significantly enhance your welding capabilities. In this guide, we'll delve into the intricacies of handheld fiber laser welding machine, providing you with a step-by-step approach to achieve optimal results.
Understanding Handheld Fiber Laser Welding: Handheld fiber laser welding machine utilizes a high-powered laser beam to melt and join metal components together. Unlike traditional welding methods, which rely on heat generated from an electrical arc, fiber laser welding offers superior control and accuracy. The compact design of handheld fiber laser welding machines allows for greater maneuverability, making it ideal for welding intricate components and hard-to-reach areas.
Step-by-Step Guide to Handheld Fiber Laser Welding:
-
Preparation:
- Ensure the workpiece surfaces are clean and free from any contaminants, such as rust or grease.
- Position the workpieces securely in place, either using clamps or fixtures, to prevent movement during welding.
- Select the appropriate laser parameters based on the material type, thickness, and desired weld quality.
-
Setup:
- Power on the handheld fiber laser welding machine and allow it to warm up to operating temperature.
- Adjust the laser focus and beam diameter to achieve the desired weld penetration and width.
- Position the handheld welding head at the starting point of the weld joint, ensuring proper alignment and angle.
-
Welding Technique:
- Activate the laser beam and initiate the welding process by smoothly moving the handheld welding head along the weld joint.
- Maintain a consistent travel speed and distance from the workpiece to ensure uniform heat distribution and weld bead formation.
- Adjust the laser power and pulse frequency as needed to optimize weld penetration and minimize heat-affected zones.
-
Monitoring and Quality Control:
- Monitor the weld pool and joint area throughout the welding process to detect any potential defects, such as porosity or lack of fusion.
- Use appropriate shielding gases, such as argon or nitrogen, to protect the weld zone from atmospheric contamination.
- Conduct post-weld inspections, such as visual examination and non-destructive testing, to verify weld integrity and quality.
-
Post-Welding:
- Allow the welded components to cool gradually to room temperature to prevent stress buildup and distortion.
- Remove any excess spatter or residue from the weld area using a wire brush or abrasive pad.
- Optionally, perform additional finishing operations, such as grinding or polishing, to achieve the desired surface smoothness and appearance.
Conclusion: Mastering the art of handheld fiber laser welding machine requires practice, patience, and attention to detail. By following the steps outlined in this guide and continuously refining your welding techniques, you can unlock the full potential of handheld fiber laser welding machine and achieve exceptional weld quality and consistency.


No comments yet