Start on a carpet installation project can be both exciting and difficult, especially for DIY enthusiasts. In this comprehensive guide, we'll combine the expertise and provide you with a detailed walkthrough of the entire process. From preparing your space to laying down the final piece of carpet, we'll cover everything you need to know to achieve professional quality results.
Section 1: Understanding the Basics of Carpet Installation
1.1 What You Need to Know About Carpet:
Understanding different types, styles, and materials of carpet is crucial. You should consider factors like how long it lasts, how easy it is to clean, and how it looks. Look for carpets that match your lifestyle and preferences. Naturally, when exploring your options, visiting a reputable carpet shop in Leamington spa which can provide you with a firsthand look at various styles and materials, along with expert advice.
1.2 Essential Tools and Equipment:
Having the right tools is essential for a successful carpet installation. We'll list and explain tools like knee kickers, tack strips, utility knives, and carpet stretchers. Don't forget about safety gear like gloves and masks to protect yourself during the process. Make sure to acquire or rent these tools before starting your project.Here's a list and explanation of tools commonly used in carpet installation:
Knee Kickers:
Knee kickers are tools used to stretch carpet tightly across a room and attach it to tack strips along the edges. They consist of a padded cushion and a spring-loaded mechanism with a toothed gripper at one end. Installers use their knee to push against the padded cushion, which transfers force to the gripper, stretching the carpet.
Tack Strips:
Tack strips are wooden or metal strips with small, sharp nails protruding upward. They are installed along the perimeter of a room, spaced apart to hold the edges of the carpet securely in place. The nails on the tack strips grip the carpet backing when it is pressed onto them, ensuring a tight fit.
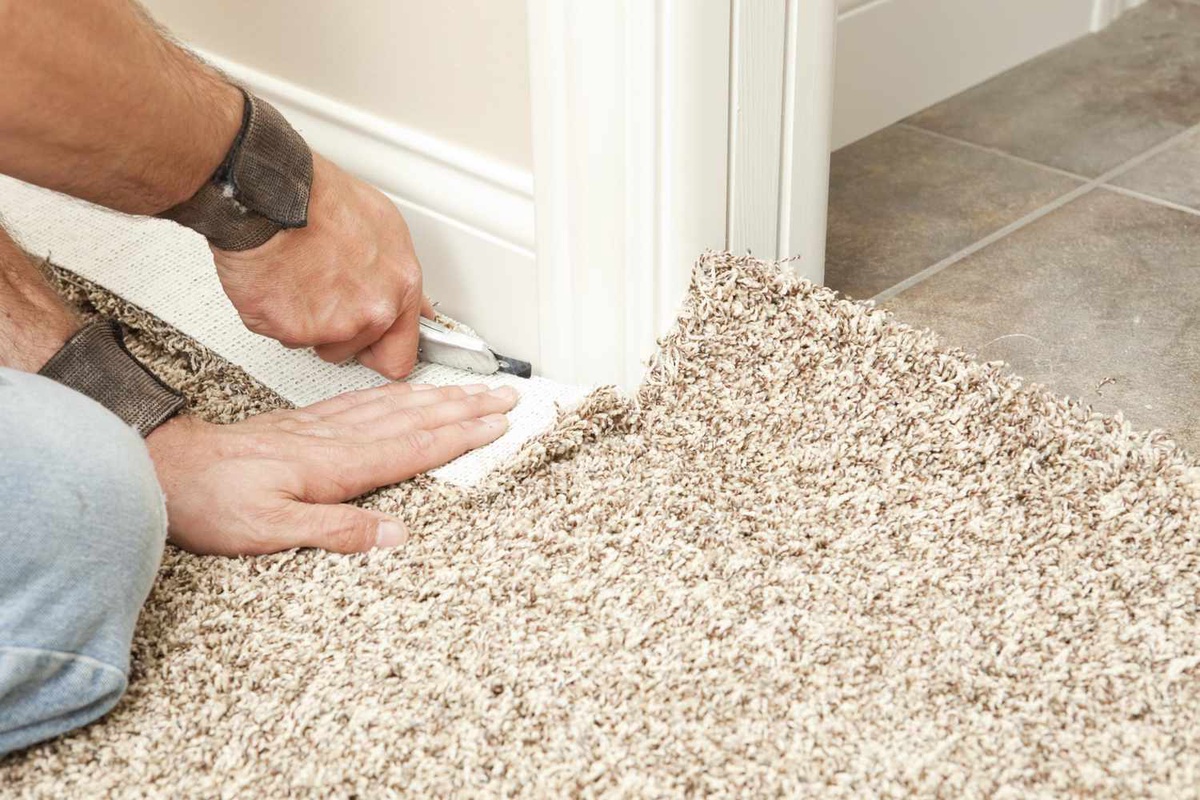
Utility Knives:
Utility knives are versatile cutting tools used in various construction and installation tasks, including carpet installation. They typically have retractable blades that can be adjusted to different lengths for cutting through various materials. Installers use utility knives to trim excess carpet, cut it to fit around corners or obstacles, and make precise cuts along walls.
Carpet Stretchers:
Carpet stretchers are essential tools for achieving a smooth and wrinkle-free carpet installation. They come in several types, including power stretchers and manual stretchers. Power stretchers use a lever mechanism to stretch the carpet across the room, while manual stretchers rely on physical force applied by the installer. Both types have adjustable poles and gripping mechanisms to secure the carpet and stretch it tightly.
1.3 Planning Your Project:
Before diving in, it's important to plan your project carefully. Figure out how much carpet and underlay you'll need, create a timeline, and set a budget for the installation process. Take accurate measurements of your space and consult with experts if needed to ensure you have everything prepared.
Section 2: Preparing Your Space for Installation
2.1 Removing Old Carpet:
First things first, you'll need to remove any existing carpet. We'll discuss techniques to efficiently remove the old carpet. Additionally, we'll cover proper disposal methods and considerations for carpet recycling. Clear out the room and ensure you have proper ventilation before starting the removal process.Here are three techniques to efficiently remove old carpet:
Cutting and Rolling Method:
- Cut the Carpet:
Use a utility knife to cut the old carpet into manageable sections. Start by cutting along one edge of the room, near a wall or corner. Make straight cuts across the width of the room, dividing the carpet into strips. - Roll Up the Sections:
- Once the carpet is cut into strips, roll up each section tightly. This makes it easier to handle and transport for disposal.
- Remove Tack Strips and Padding:
After removing the rolled-up carpet sections, use a pry bar or pliers to lift and remove the tack strips along the edges of the room. Additionally, remove any padding or underlayment material that may be beneath the carpet.
Knee Kicker and Tack Strip Removal:
-
Loosen the Carpet:
Use a knee kicker to loosen the carpet from the tack strips along the edges of the room. Apply pressure with the knee kicker to stretch the carpet away from the walls. -
Remove Tack Strips:
Once the carpet is loosened, use a pry bar or carpet tucking tool to lift and remove the tack strips from the perimeter of the room. Work carefully to avoid damaging the underlying floor. -
Roll Up and Dispose:
After the tack strips are removed, roll up the old carpet sections and dispose of them properly. Be sure to check for any remaining staples or nails in the floor and remove them to prepare for the installation of new flooring.
Power Carpet Stretcher Method:
- Secure Power Stretcher:
Start by securing a power carpet stretcher at one end of the room. Follow the manufacturer's instructions for setting up and using the power stretcher.
Stretch and Cut Carpet:
- Use the power stretcher to stretch the carpet across the room, loosening it from the tack strips along the edges. As you stretch the carpet, use a utility knife to cut it into manageable sections.
Roll Up and Dispose:
- Once the carpet is cut into sections, roll them up tightly and dispose of them properly. Be sure to remove any remaining tack strips and clean the subfloor before installing new flooring.
2.2 Preparing the Subfloor:
A smooth and even subfloor is crucial for a flawless carpet installation. We'll guide you through assessing the condition of the subfloor, addressing any issues such as unevenness or damage, and installing moisture barriers and leveling compounds if needed. Take your time to inspect and prepare the subfloor properly to avoid any complications later on.
Here's how to do it and address any issues like unevenness or damage, as well as installing moisture barriers and leveling compounds if needed:
Begin by thoroughly examining the subfloor for any signs of damage, such as water stains, rot, or cracks. Ensure that the subfloor is clean, dry, and free of debris.
Use a level to check for any unevenness or dips in the subfloor. Pay close attention to areas near walls and corners where problems may be more likely to occur. By using following technique
Addressing Unevenness:
If the subfloor is uneven, consider using a self-leveling compound to create a smooth surface. Mix the leveling compound according to the manufacturer's instructions and pour it onto the subfloor. Use a trowel to spread the compound evenly, filling in any low spots or depressions.
Allow the leveling compound to dry completely before proceeding with the installation of moisture barriers or flooring material.
Repairing Damage:
Repair any damaged areas of the subfloor by replacing rotten or water-damaged sections of wood. Use a circular saw to cut out the damaged area, then install a new piece of plywood or OSB (oriented strand board) to replace it.
Secure the new subflooring with screws, ensuring that it is level with the surrounding areas.
Installing Moisture Barriers:
In areas where moisture is a concern, such as basements or bathrooms, it's essential to install a moisture barrier before laying the flooring material. Use a waterproof membrane or a moisture-blocking underlayment to protect the subfloor from moisture damage.
Carefully follow the manufacturer's instructions for installing the moisture barrier, ensuring that it covers the entire surface of the subfloor with no gaps or overlaps.
Applying Moisture Sealant:
Consider applying a moisture sealant to the subfloor before installing the moisture barrier for added protection against moisture infiltration. Moisture sealants help to create a watertight seal and prevent moisture from seeping into the subfloor.
2.3 Installing Tack Strips and Underlay:
Properly installing tack strips along the perimeter of the room and securing underlay are essential steps to ensure your carpet is well-supported and cushioned. Follow manufacturer instructions carefully when installing tack strips and underlay to ensure proper placement and adhesion. Take care not to damage the subfloor during this process.
Section 3: Measuring and Cutting the Carpet
3.1 Accurate Measurement Techniques:
Measuring rooms, stairs, and irregular spaces accurately is key to determining the right carpet dimensions. We'll discuss techniques for accounting for pattern matching, seams, and excess material. Measure twice and cut once to avoid costly mistakes. Double-check your measurements before cutting to ensure you have the correct dimensions.
3.2 Cutting and Seaming:
Cutting carpet pieces to size and joining them seamlessly requires precision.. Use sharp blades and straight edges for clean cuts, and follow seam sealing instructions carefully to ensure a secure bond. Practice on scrap carpet before making any cuts to your actual carpet.
3.3 Addressing Challenges:
Working around obstacles like doorways and corners can be tricky. Take your time and use patience when cutting around obstacles to ensure a professional-looking finish. Don't hesitate to seek help from experienced installers if you encounter difficulties.
Section 4: Executing the Installation
4.1 Laying Down the Carpet:
Now comes the exciting part laying down the carpet! Start in the center of the room and work your way outward to ensure even tension and minimize wrinkles. Use proper body mechanics to avoid strain when stretching the carpet.
4.2 Securing Edges and Seams:
Properly securing the edges of the carpet to tack strips and ensuring tight seams are crucial for a professional-looking finish. Use a knee kicker and carpet stretcher to ensure the carpet is stretched tightly before securing the edges. Check seams for alignment and securely bond them to prevent unraveling.
4.3 Finishing Touches:
The final touches can make all the difference.Use a carpet knife and straightedge to trim excess carpet, and use a stair tool to tuck edges neatly along walls and thresholds. Install transition strips and door bars according to manufacturer instructions for a seamless finish.
Section 5: Post-Installation Care and Maintenance
5.1 Caring for Your New Carpet:
Once your carpet is installed, proper care and maintenance are essential for preserving its beauty and longevity. Vacuum high-traffic areas daily and use a carpet cleaner or spot treatment for spills and stains. Consider investing in a professional carpet cleaning service annually to remove deep-seated dirt and allergens.
5.2 Monitoring for Wear and Tear:
Keep an eye out for signs of wear and tear, especially in high-traffic area Check seams and edges regularly for signs of unraveling or damage, and address any issues promptly to prevent further damage. Schedule professional carpet cleaning every 12 to 18 months to maintain the appearance and longevity of your carpet.
Conclusion:
By following the steps outlined in this guide, DIY enthusiasts can confidently tackle carpet installation projects with ease. From meticulous preparation to precise execution, mastering the art of carpet installation is within reach for anyone willing to put in the time and effort. Whether you're renovating your home or upgrading a commercial space, achieving professional-quality results is possible with the right tools, techniques, and know-how.

No comments yet