Tubeless tyres have become increasingly popular due to their durability, performance, and ease of maintenance. However, like any other tire, they are susceptible to punctures.
Dealing with a punctured tubeless tire may seem daunting at first, but with the right tools and knowledge, it's a manageable task that you can easily handle yourself.
In this guide, we'll walk you through the step-by-step process of repairing a tubeless tyre puncture.
Safety First:
Before starting any repair work, ensure your safety by parking your vehicle on a flat, stable surface away from traffic. Engage the parking brake and put wheel chocks behind the wheels to prevent any movement.
Locate the Puncture:
Scrutinize the tire to identify the puncture. Look for any visible objects lodged in the tread or listen for escaping air. Sometimes, a mixture of soap and water can help identify the leak as bubbles form around the puncture.
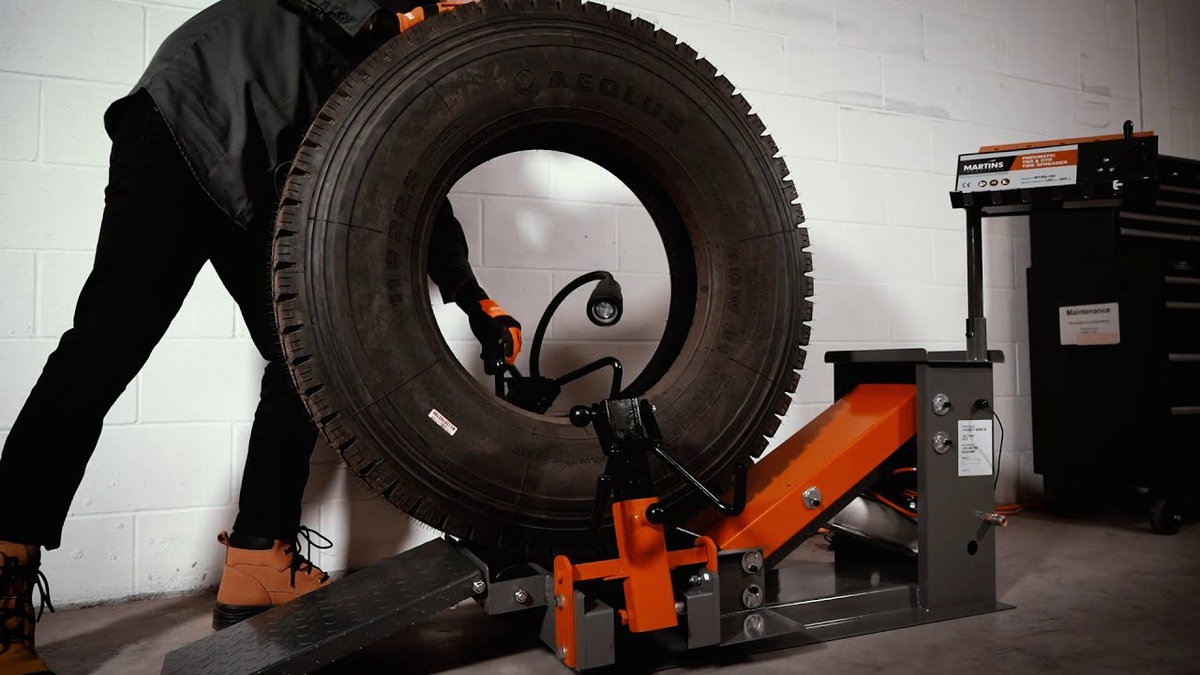
Remove the Tire:
If necessary, remove the wheel from the vehicle for easier access to the puncture. Use a jack to lift the vehicle and securely support it with jack stands before removing the wheel.
Also Know About Mushroom Puncture.
Deflate the Tire:
Before attempting any repair, completely deflate the tire by removing the valve core with a valve core removal tool. This ensures that the tire is safe to work on and allows better access to the puncture.
Prep the Puncture Site:
Clean the area around the puncture with a rag and some rubbing alcohol to remove any dirt or debris. This ensures a clean surface for the patch to adhere to.
Insert the Repair Plug:
Use a tire plugger kit to insert a repair plug into the puncture. Follow the manufacturer's instructions carefully, but generally, you'll insert the plug into the puncture using the insertion tool until only a small portion of the plug is visible.
Trim the Excess Plug:
Once the plug is inserted, trim any excess material flush with the tire tread using a sharp knife or scissors. This ensures a smooth surface and prevents the plug from being dislodged while driving.
Reinflate the Tire:
Reinstall the valve core using the valve core removal tool and reinflate the tire to the recommended pressure using a tire inflator or air compressor.
Check for any leaks by applying a mixture of soap and water around the repaired area. If bubbles appear, the repair may not be successful, and you may need to repeat the process or seek professional assistance.
Reinstall the Tire:
Once the repair is complete and you've confirmed that there are no leaks, reinstall the tire onto the vehicle and tighten the lug nuts securely.
Test Drive:
Take your vehicle for a short test drive to ensure that the tire is properly repaired and there are no issues with handling or stability.
By following these steps, you can effectively repair a punctured tubeless tire and get back on the road safely. However, if you're uncomfortable or unsure about performing the repair yourself, don't hesitate to seek assistance from a professional tire technician. Remember, safety always comes first when dealing with tire repairs.

No comments yet