Are you looking to install a small 12-volt deep cycle battery for your RV, boat, or solar power system? Ensuring the correct installation of your compact deep-cycle battery is crucial for optimal performance and longevity. In this blog post, we will provide you with tips and tricks to help you install your Small 12 Volt Deep Cycle Battery correctly.
Understanding Your Small 12v Deep Cycle Battery
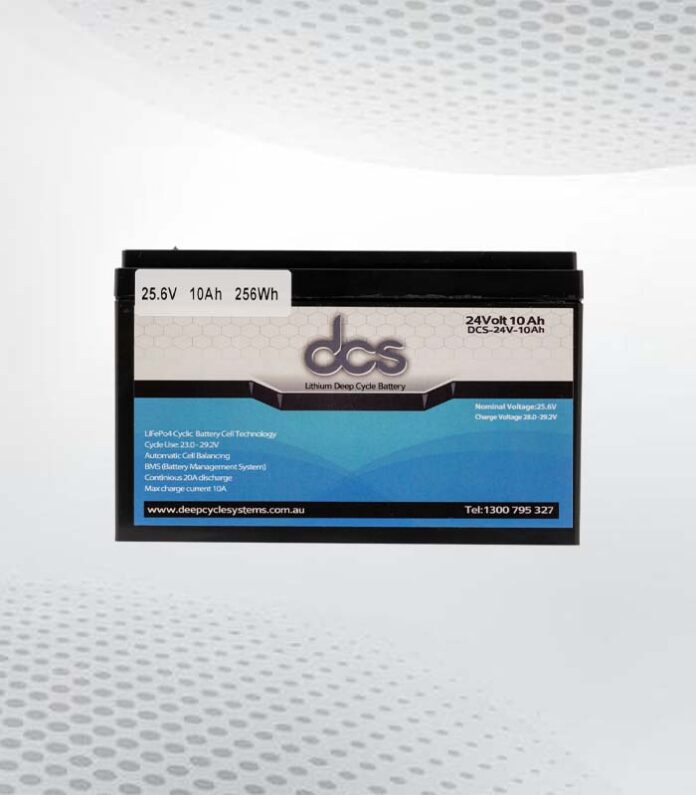
Deep cycle batteries, particularly those of the small 12 volt variety, are engineered to discharge and recharge frequently, providing a consistent power output over time. This is in stark contrast to the quick, high-energy output of starting batteries. A foundational step in ensuring your installation goes smoothly is to become familiar with the specifics of your mini deep cycle battery. This includes knowledge of its capacity, which is usually measured in ampere-hours (Ah), indicating the amount of current the battery can provide over a specific period. Understanding the voltage is equally critical; for small 12 volt deep cycle batteries, the nominal voltage is 12V, but it’s important to note that actual operating voltage may vary slightly during discharge and recharge cycles.
Additionally, comprehending the type of your small deep cycle battery, whether it's AGM (Absorbent Glass Mat), Gel, or Flooded Lead Acid, will dictate the appropriate care and installation method. Each type has unique characteristics in terms of charging requirements, maintenance needs, and resilience to varied temperatures and vibrations. For instance, AGM batteries offer the advantage of being maintenance-free and spill-proof, ideal for applications where the battery may not be easily accessible for regular upkeep. On the other hand, Flooded Lead Acid batteries, while often more affordable, require regular checking of electrolyte levels and ensuring proper ventilation to release gases formed during charging.
This knowledge not only assists in selecting the right battery for your needs but also underpins the installation process, ensuring compatibility with your system’s requirements and operational safety.
Preparing for Installation
Gathering Necessary Tools:
- Ensure you have wrenches of appropriate size for battery terminals and screws, as well as various screwdrivers for adjustments.
- Select durable battery cables of the correct gauge to handle expected current flow.
- Secure a battery box or mounting tray to anchor the battery firmly in place during installation.
Safety Equipment:
- Prioritize safety by wearing gloves and protective eyewear to shield against potential spills or sparks during the installation process.
Reviewing Manufacturer's Manual:
- Take time to carefully read and understand the manufacturer's manual.
- Note vital specifics regarding the battery's handling, recommended installation procedures, and safety warnings.
- Familiarize yourself with the unique properties of your small deep-cycle battery to ensure a safe and effective installation process.
Identifying the Correct Placement for Your Small 12v Deep Cycle Battery
The correct placement of your Small 12v Deep Cycle Battery is paramount to both its performance and overall safety within your system. When scouting for the ideal location, prioritize a spot that is both well-ventilated and devoid of moisture to mitigate risks of overheating and potential corrosion, which could impair the battery's efficacy and lifespan. A consideration of equal importance is the battery's accessibility for maintenance purposes. Even though some battery types, such as AGM, are touted for being maintenance-free, periodic inspections ensure early detection of any issues that could escalate if left unaddressed.
It's also crucial to consider the environment the battery will be operating in. For instance, areas prone to high temperatures or direct sunlight can significantly affect the battery's performance and may require additional protective measures to maintain optimal conditions. Similarly, in colder climates, insulation might be necessary to prevent reduced battery efficiency due to low temperatures.
Furthermore, ensure the installation site allows for secure mounting of the battery. This is especially critical in mobile applications such as RVs or boats, where movement could lead to physical damage or disconnections if the battery isn't adequately secured. Using a battery box or mounting tray, specifically designed for your battery size and type, can aid in achieving a firm setup that withstands varying conditions. This approach not only enhances safety but also contributes to the overall reliability of your power system.
Connecting Your Small Deep Cycle Battery
The process of wiring your Small Deep Cycle Battery into your system is a critical step that demands precision and care. Begin this process by ensuring all devices or systems that will be connected to the battery are turned off to prevent any unexpected electrical surges. With the positive (+) cable in hand, securely attach one end to the positive terminal of the battery, typically marked with a plus sign and often colored red for easy identification. Following this, connect the other end of the positive cable to the positive terminal of your device or power system.
Proceed with the negative (-) cable, attaching one end to the battery's negative terminal, marked with a minus sign and usually colored black, and then connect the other end to the device or system's negative terminal. It's essential to ensure that these connections are not only secure but also clean, as any corrosion or looseness can lead to poor performance or potential hazards. Using battery terminal protectors can help prevent corrosion, enhancing the longevity of your connections.
During this stage, paying close attention to the order in which you make the connections is crucial. Connecting the positive terminal first minimizes the risk of creating a short circuit during the installation process. Additionally, once all connections are made, double-check to ensure that cables are routed and secured away from any moving parts or sharp edges that could cause wear over time, ensuring a safe and reliable installation.
Testing the Installation
Voltage Output Measurement:
- Use a reliable multimeter to measure the battery's voltage output.
- Ensure the measured voltage aligns with the manufacturer's specifications, confirming the battery's operational status.
Functionality Check of Powered Systems:
- Engage the systems or devices powered by the battery.
- Observe their performance closely to identify any signs of power fluctuation or insufficient supply.
- Ensure that power distribution is consistent and adequate for the demands of your setup.
Inspection of Connections:
- Inspect all connections for signs of heating or undue resistance.
- Address any issues promptly, as they could indicate poor connections or safety hazards.
- Verify that all safety measures, such as proper cable routing and securing, have been followed to mitigate risks during operation.
Baseline Establishment for Future Troubleshooting:
- Conducting thorough tests establishes a baseline for future troubleshooting.
- This proactive approach prepares you to address any performance issues that may arise, ensuring the reliability and efficiency of your power source.
Maintenance Tips for Your Mini Deep Cycle Battery
To keep your Mini Deep Cycle Battery operating at peak performance, regular maintenance is essential. Begin by ensuring the battery’s surface is always clean, wiping away any accumulation of dirt, dust, or oily residues which could hamper its efficiency. For batteries that require it, such as certain Flooded Lead Acid types, monitoring and maintaining proper electrolyte levels is crucial; distilled water should be used to refill, avoiding overfilling which can lead to spillage and corrosion.
Implementing a routine check for corrosion around terminals and cables can prevent connection issues; clean any corroded spots with a solution of baking soda and water, followed by a thorough rinse and drying. Also, ensure the connections remain tight and secure to prevent energy loss. Utilizing a smart charger or battery maintainer that automatically adjusts the charge can significantly extend the life of your battery by preventing overcharging, which is one of the leading causes of battery degradation.
For optimal results, adhere to the charging recommendations provided by the manufacturer, as different batteries have varied needs based on their construction and intended use. Regular attention to these aspects will help maintain the health and functionality of your mini deep cycle battery over time.
Troubleshooting Common Installation your Compact Deep Cycle Battery
Encountering challenges when installing your Compact Deep Cycle Battery can be frustrating, but many common issues have straightforward fixes. First, ensure all your connections are not just secure, but also devoid of any corrosion or dirt, as these can impede electricity flow. If you experience low voltage, verify that the battery is properly charged and that the charger is functioning as expected.
Additionally, inspect the cables for any signs of wear or damage, as compromised cables can significantly reduce the efficiency of your power system. For issues related to the battery not holding a charge, double-check that the battery type matches the requirements of your system and that you're adhering to the correct charging protocol specific to your battery type.
If problems persist, reviewing the manufacturer's troubleshooting guide can provide model-specific guidance. In cases where solutions are not readily apparent, don't hesitate to reach out to a professional for expert advice. This proactive approach to troubleshooting can help quickly resolve installation issues, ensuring your system operates smoothly.
FAQs
Q: What's the best way to ensure my Small 12 Volt Deep Cycle Battery has a long life?
A: Regular maintenance, including keeping the battery and terminals clean, ensuring tight and corrosion-free connections, and adhering to proper charging practices, are key to extending the life of your battery. Use a smart charger that prevents overcharging, and follow the manufacturer’s guidance for charging and maintenance.
Q: Can extreme temperatures affect my mini deep cycle battery's performance?
A: Yes, extreme cold can decrease battery efficiency, while extreme heat can accelerate wear and reduce battery lifespan. Protecting your battery from severe temperatures and considering insulation or ventilation as necessary can help maintain its performance.
Q: Is it necessary to use a specific type of charger for my small deep-cycle battery?
A: Using the correct type of charger is crucial. Different batteries require different charging techniques; for example, AGM, Gel, and Flooded Lead Acid batteries all have unique charging requirements. Always use a charger that is compatible with your battery type, as recommended by the battery’s manufacturer.
Conclusion
Successfully installing your Small 12 Volt Deep Cycle Battery is critical for maximizing its efficiency and lifespan. This guide has walked you through each step, from understanding your battery's specifications to the final testing post-installation. Embracing these strategies will help ensure your battery not only fits seamlessly into your system but also stands the test of time. Safety, thorough preparation, and regular maintenance are your allies in achieving a reliable power source for your RV, boat, or solar setup. Keep the manufacturer’s instructions close at hand for any unique installation nuances, and remember that the proper care doesn’t stop once the battery is in place.
|
Related Business Listings |

No comments yet