Are you looking for easy steps for Xfinity Gateway login? If Yes then you are in the right place. Here is a step-by-step guide to easily login to your Xfinity Gateway. So you can read this blog and follow the steps.
-
Connect your device (computer, laptop, or smartphone) to your Xfinity Gateway's Wi-Fi network. You can find the default network name (SSID) and password on a sticker at the bottom or back of the gateway.
-
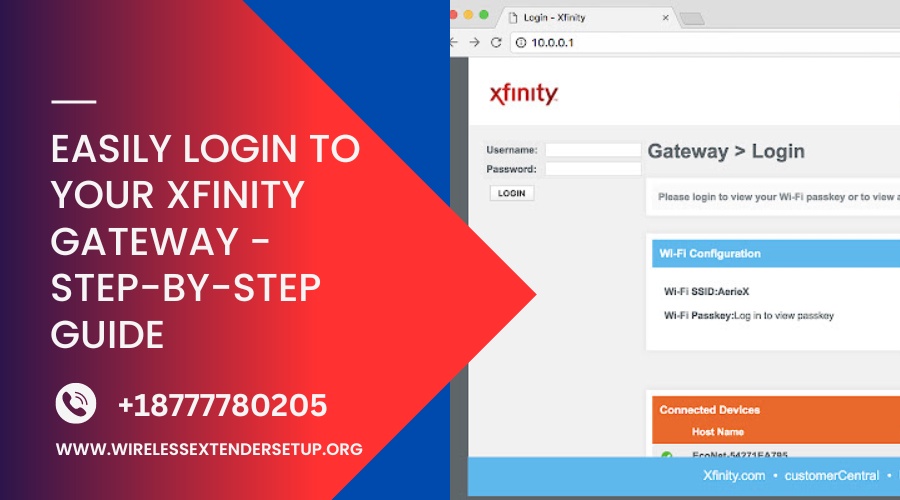
Open a web browser (e.g., Google Chrome, Mozilla Firefox, Safari, etc.) and type in the gateway's IP address in the address bar. The default IP address for most Xfinity Gateway models is 10.0.0.1, but it can also be 192.168.0.1 or 192.168.100.1 depending on your model.
-
You will be redirected to the Xfinity Gateway login page. Enter the username and password for your Xfinity account. If you have not changed the default login credentials, the username is usually "admin" and the password is "password".
-
Once you have logged in successfully, you will be able to access the Xfinity Gateway's admin console, where you can manage your Wi-Fi network settings, view your network status, and more.
That's it! You have successfully logged in to your Xfinity Gateway. Remember to keep your login credentials secure and change them from the default settings for added security. If you are still facing any issue regarding the Xfinity Gateway Login process then you can contact our expert team. They will assist you.

No comments yet