Welcome readers warmly and set the tone for a friendly, informative guide. Briefly explain the benefits of having a carport and why building your own can be a cost-effective option.
Having a carport is a great way to protect your vehicles from the elements and provide additional storage space. While you can purchase a pre-made carport, building your own can be a rewarding and budget-friendly project.
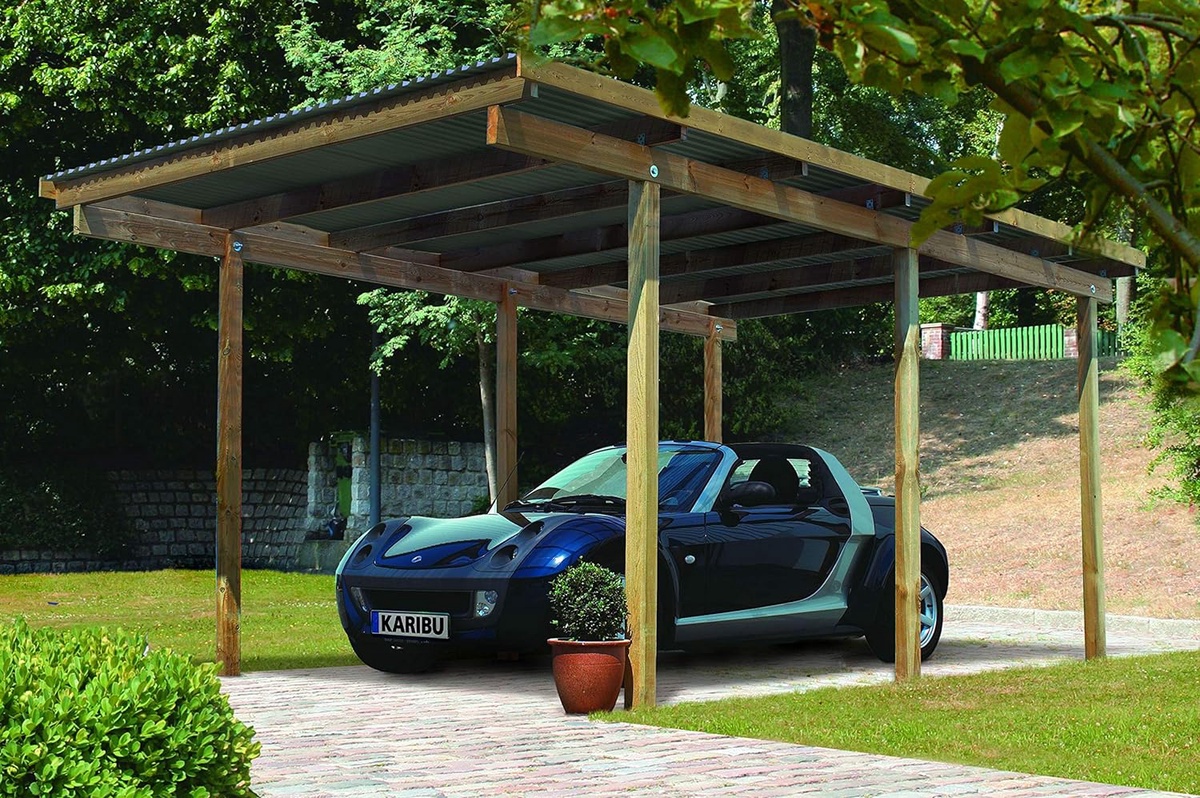
To begin, it's essential to meticulously plan every aspect of your carport, from dimensions to materials. If you're uncertain where to start, you might want to explore the option to buy DIY Carport Kit. These kits come equipped with all the necessary materials and comprehensive instructions, making the construction process a breeze.
In this step-by-step guide, we will walk you through the entire process of building your own carport, from planning and preparation to the finishing touches. So, roll up your sleeves and let's get started!
Planning and Preparation:
- Assessing Your Needs:
Before you start building your carport, it's important to assess your needs. Consider factors such as the size of your car(s), the number of vehicles you need to accommodate, and the available space on your property. This will help you determine the size and design of your carport.
- Researching Local Regulations:
Before you start any construction project, it's crucial to research and comply with local building codes and regulations. Check with your local municipality or building department to determine if you need a building permit for your carport. It's better to be safe than sorry and avoid any potential fines or legal issues later on.
- Setting a Budget:
Once you have assessed your needs and checked local regulations, it's time to set a budget for your DIY carport project. Start by estimating the costs of materials such as treated lumber, roofing sheets, concrete, and any additional features you may want to include. Prioritize your materials based on your budget and make adjustments as needed.

Gathering Materials and Tools:
- Essential Materials:
To build your own carport, you will need several essential materials. Here is a list of the materials you will likely need:
- Treated lumber or metal posts for the frame
- Roofing sheets to provide shelter
- Concrete for the foundation (if required)
- Fasteners such as screws, nails, and bolts
- Brackets and connectors for structural support
Each of these materials serves a specific purpose in the construction of your carport. Treated lumber or metal posts will form the backbone of your carport's frame, while roofing sheets will provide protection from the elements.
- Recommended Tools:
In addition to the materials, you will need a set of tools to successfully build your carport. Here are some recommended tools:
- Circular saw for cutting lumber or metal posts to size
- Drill for making holes and driving screws
- Measuring tape for accurate measurements
- Level for ensuring a straight and level structure
- Safety gear such as gloves and goggles for protection
While these tools are recommended, you can make adjustments based on your specific needs and budget. For example, if you don't have a circular saw, you can rent one or use a hand saw instead. The important thing is to have the necessary tools to complete the project safely and efficiently.
Design Considerations:
- Choosing the Right Carport Design:
Before you start building, it's essential to choose the right carport design that suits your needs and preferences. There are two main types of carport designs: attached and freestanding.
- Attached Carport:
An attached carport is connected to an existing structure such as your house or garage. It provides a convenient and seamless transition from your vehicle to your home. This design is ideal if you have limited space or want easy access to your vehicles.
- Freestanding Carport:
A freestanding carport is a standalone structure that is not connected to any existing building. It offers more flexibility in terms of location and can be placed anywhere on your property. This design is ideal if you have ample space and want a separate structure for your vehicles.
Consider factors such as available space, aesthetics, and functionality when choosing the right carport design for your needs.
- Creating a Blueprint or Sketch:
Once you have chosen the design, it's a good idea to create a blueprint or sketch of your carport. This will serve as a visual guide and help you stay organized throughout the construction process. Start by measuring the dimensions of your carport and sketching a basic layout. Include details such as the size of the frame, the height of the structure, and the placement of roofing sheets. This blueprint will be your roadmap as you build your carport.
Construction Process:
- Preparing the Ground:
Before you start building your carport, you need to prepare the ground. Clear the site of any debris or vegetation that may obstruct the construction process. Level the ground using a shovel or a leveling tool and mark out the boundaries of your carport using stakes and string. This will ensure that your carport is built on a solid and level foundation.
- Building the Frame:
The frame is the backbone of your carport and provides structural support. If you are using treated lumber, start by cutting the posts and beams to the desired length, following your blueprint. Attach the posts to the ground using concrete footings or metal post anchors. Connect the beams and cross beams using brackets and screws to form the frame. Ensure that the frame is level and square before proceeding to the next step.
If you are using metal posts, follow the manufacturer's instructions for assembly. Metal carports often come in prefabricated kits that are easy to assemble. Simply follow the instructions and use the recommended tools and hardware.
- Installing Roofing Sheets:
Once the frame is in place, it's time to install the roofing sheets. Start by attaching the first sheet to the frame using screws or nails, ensuring that it is aligned properly. Continue installing the remaining sheets, overlapping them slightly to ensure proper drainage. Use roofing screws or nails to secure the sheets to the frame. Pay attention to the manufacturer's instructions for proper installation and sealing of the sheets.
- Adding Sides or Enclosure (Optional):
Depending on your needs and preferences, you may want to add sides or partial enclosure to your carport. This will provide additional protection and security for your vehicles. You can use treated lumber or metal panels to create walls or partial enclosure. Follow the same steps as building the frame and secure the panels to the frame using screws or nails.
Finishing Touches and Maintenance Tips:
- Applying Protective Finishes:
To protect your carport from the elements and extend its lifespan, consider applying protective finishes such as paint or sealant. Choose a high-quality exterior paint or sealant that is suitable for the materials used in your carport. Apply the finish according to the manufacturer's instructions and allow it to dry completely before using your carport.
- Regular Maintenance:
To ensure the longevity of your carport, regular maintenance is essential. Keep your carport clean by removing debris, leaves, and dirt regularly. Inspect the structure for any damages or signs of wear and tear, such as loose screws or cracked roofing sheets. Perform necessary repairs promptly to prevent further damage.
Conclusion:
Building your own carport can be a rewarding and cost-effective project. By following this step-by-step guide, you can create a functional and stylish carport that meets your needs and budget. Remember to customize this guide based on your specific expertise and local regulations. We hope this guide has provided valuable insights and inspiration for your DIY carport project. Feel free to share your experiences or ask any questions in the comments section below. Happy building!

No comments yet