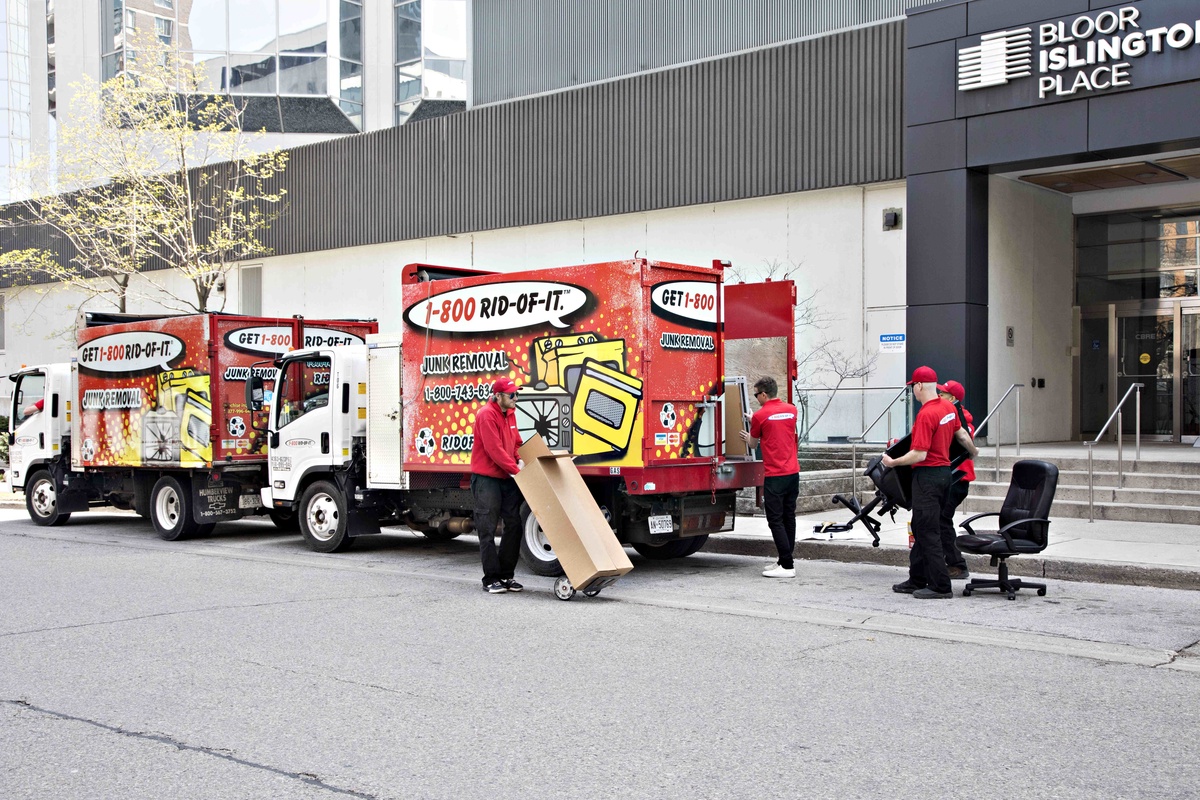
Removing old appliances from your home can be a daunting task. Whether you're upgrading your kitchen or simply clearing out space, ensuring a smooth removal process is key. Here are five essential steps to take before the professionals arrive to make the old appliance pick-up as seamless as possible.
1. Clear the Pathway
Before the team arrives for appliance removal in Toronto, you must ensure a clear path from the appliance to the exit. This means removing any obstacles that could hinder movement or pose a risk of injury. A clear pathway speeds up the process and prevents potential damage to your property. This includes:
- Moving furniture or rugs that may be in the way.
- Securing loose wires or floor coverings.
- Ensuring doors are wide enough to accommodate the appliance being removed.
2. Disconnect the Appliances
Prioritizing safety is paramount when preparing for the removal of your appliances. The process is straightforward for electric appliances: simply unplug them from their power source to ensure they are safe to handle and move. This step is crucial to avoid any electrical hazards during the removal process. However, if you want to remove gas appliances, having a professional disconnect them is best to avoid any risks.
3. Secure and Prepare Your Appliance for Removal
Preparing your appliance for safe and efficient removal is crucial before the removal team arrives. This step is not just about making the job easier for the removal team but also about ensuring the appliance is ready to be recycled or disposed of responsibly. Here’s how you can secure and prepare your appliance:
- Empty the Appliance: Ensure that your appliance is completely empty. For refrigerators and freezers, defrost them in advance and remove all food items. For washers and dryers, check for any clothes or items inside.
- Tape Doors and Cords: Securely tape the doors of appliances shut to prevent them from opening during transport. This is particularly important for refrigerators, ovens, and dishwashers. Additionally, wrap and tape any cords to the body of the appliance to avoid tripping hazards.
- Remove Non-Secure Parts: Take off any removable parts that might come loose during the removal process, such as shelves, bins, and racks from refrigerators or lint filters from dryers. If possible, pack these separately and label them, especially if you plan on donating or recycling the appliance.
4. Document the Condition of Your Appliances
Ensuring you have a detailed record of your appliances' condition before the professional removal team arrives is crucial. This documentation is especially vital if you're planning to donate the appliances or if you need to show their condition for warranty or insurance purposes. A series of photos or a brief video can effectively capture this information, providing a clear before-and-after comparison once the removal is complete. Here's how to do it effectively:
- Take Clear Photos: Capture your appliances from various angles to comprehensively document their current state. Focus on any areas showing wear or damage to have a detailed record.
- Note Any Operational Issues: Besides visual documentation, jot down any known issues with the appliance's functionality. This step is essential for accurately informing the removal team or future recipients about the appliance's condition, ensuring transparency, and facilitating the decision-making process regarding disposal or donation.
5. Label Items for Removal
Efficiently organizing the removal process begins with clearly identifying which appliances are to be removed, especially when your space contains a mix of items to keep and discard. Proper labeling eliminates any guesswork for the removal team and ensures a swift, mistake-free process. Here’s how to effectively label your appliances:
- Use Removable Tags or Tape: Attach a visible tag or piece of tape to each appliance designated for removal. This simple step makes it easy for the removal team to identify which items need to be taken away at a glance.
- Provide Clear Instructions: Enhance the labeling with a detailed list or offer a brief walkthrough if possible. Pointing out which appliances are to be removed can be invaluable, particularly if you cannot be on-site during the removal. This ensures the team knows exactly what to take, preventing any mix-ups.
Wrapping Up Your Appliance Removal Prep
Preparing for professional appliance removal doesn't have to be complicated. By following these simple steps, you can ensure a hassle-free experience. Remember, when it comes to appliance removal in Toronto and the need to remove old appliances, 1-800-RID-OF-IT has you covered. Our team is ready to handle all your appliance removal needs, offering efficient and reliable service. Contact us today to schedule your pick-up and take the first step towards a clutter-free home.


No comments yet